
Last updated November 15, 2026
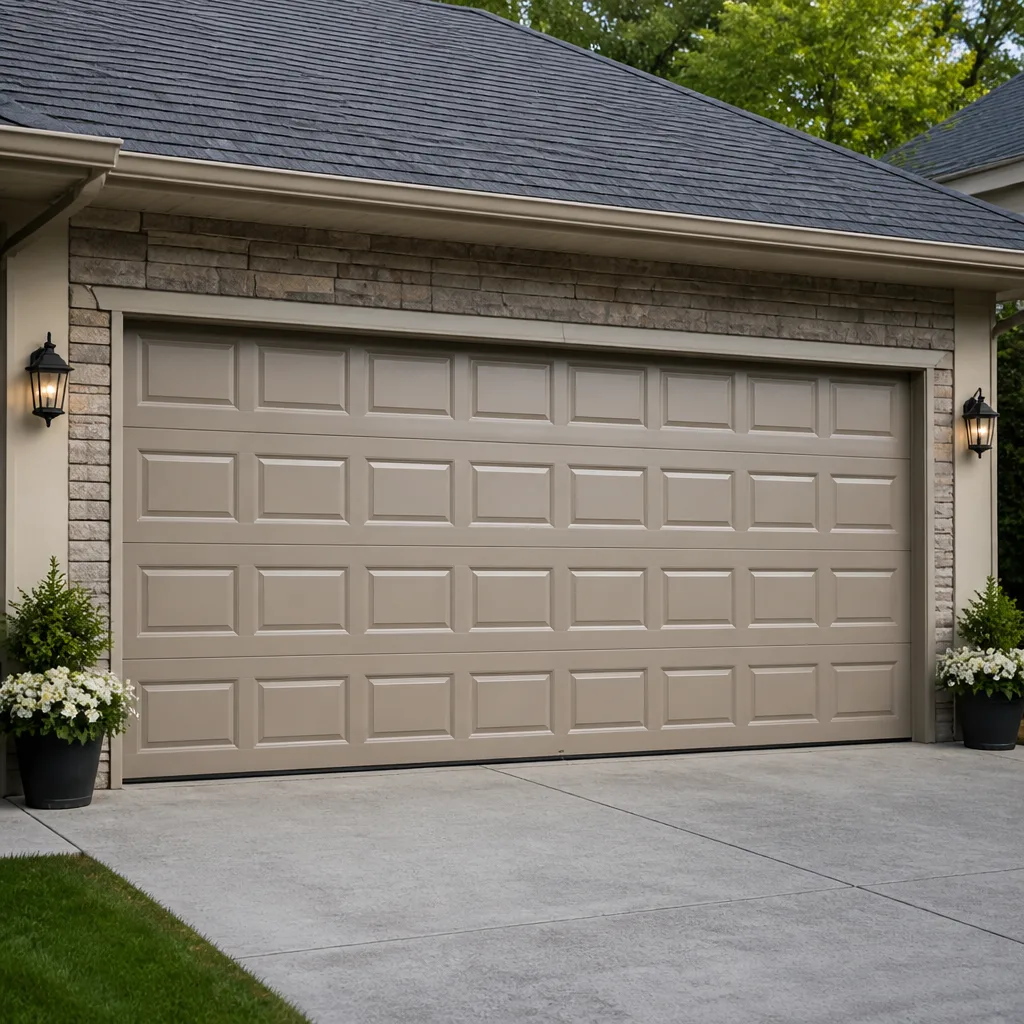 Raised-panel steel
 Carriage house
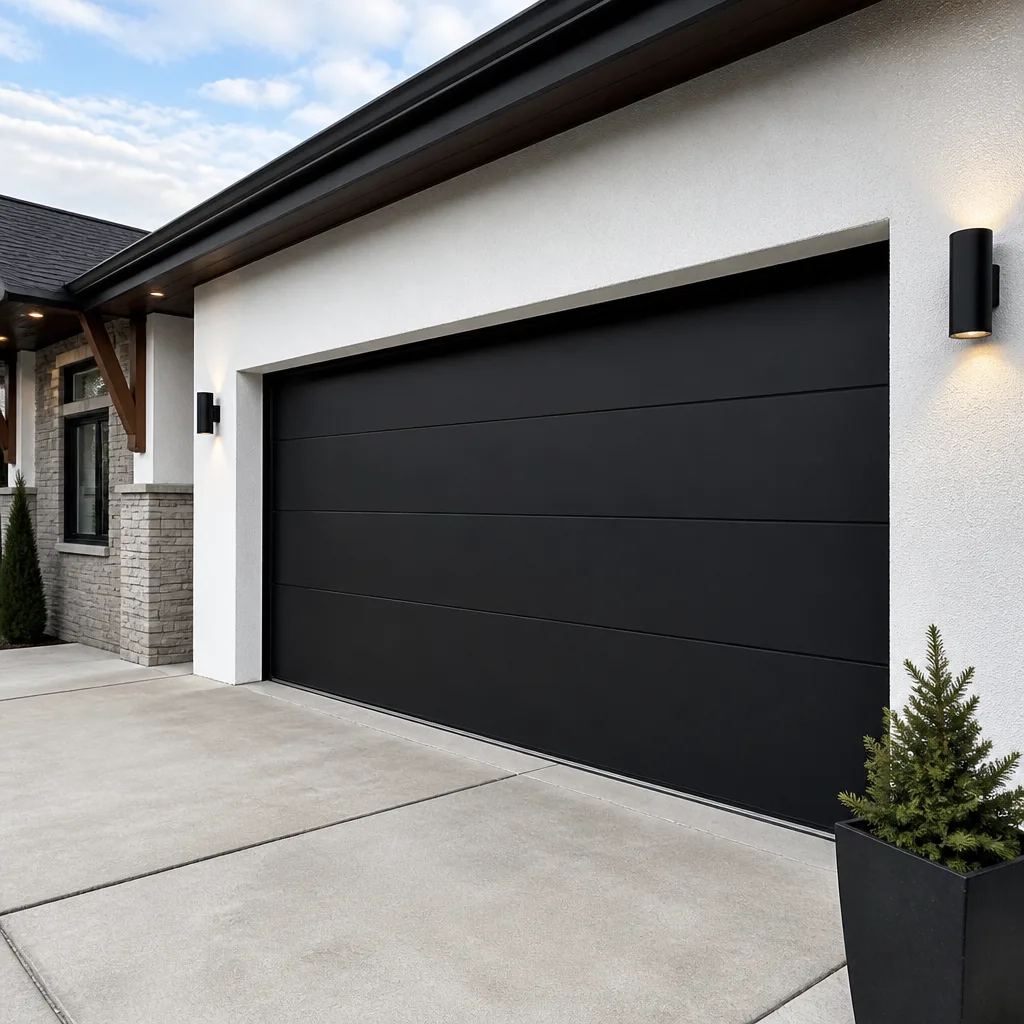 Modern flush
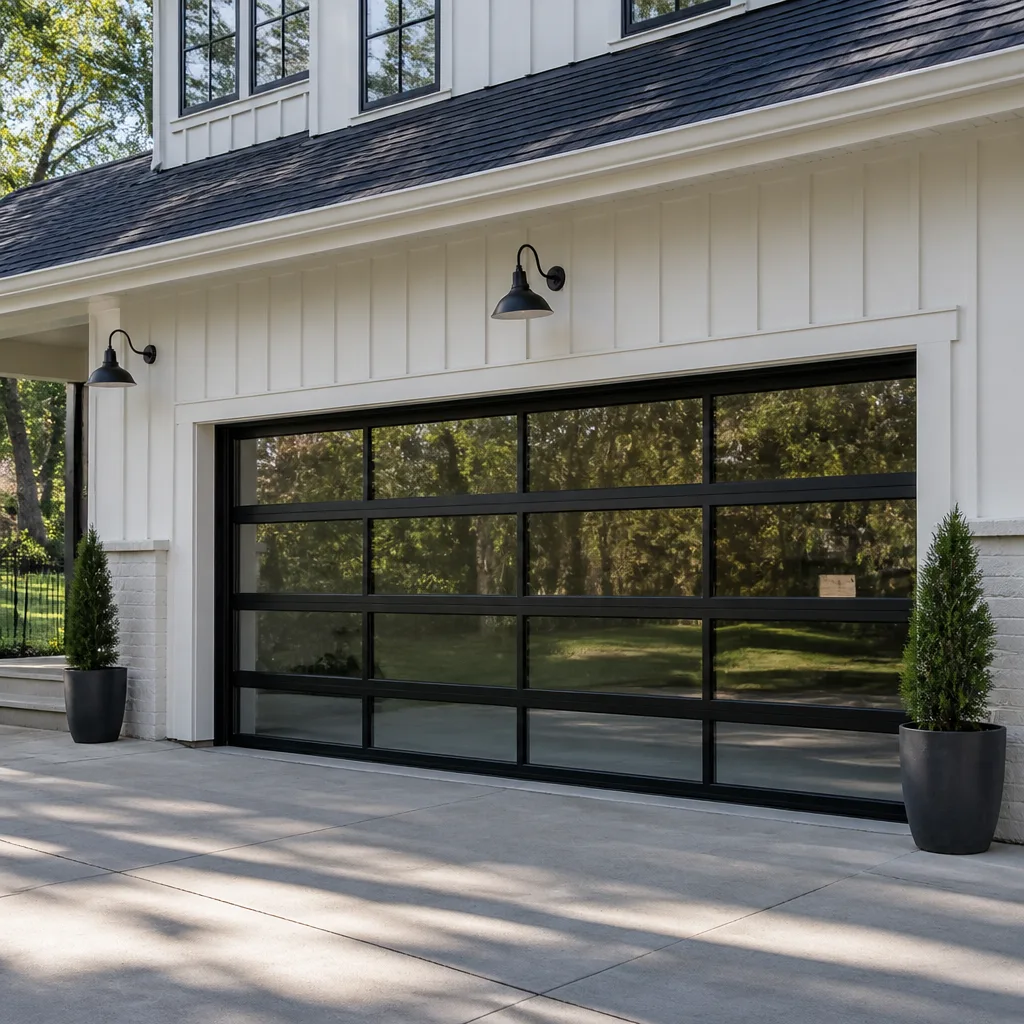 Full-view glass
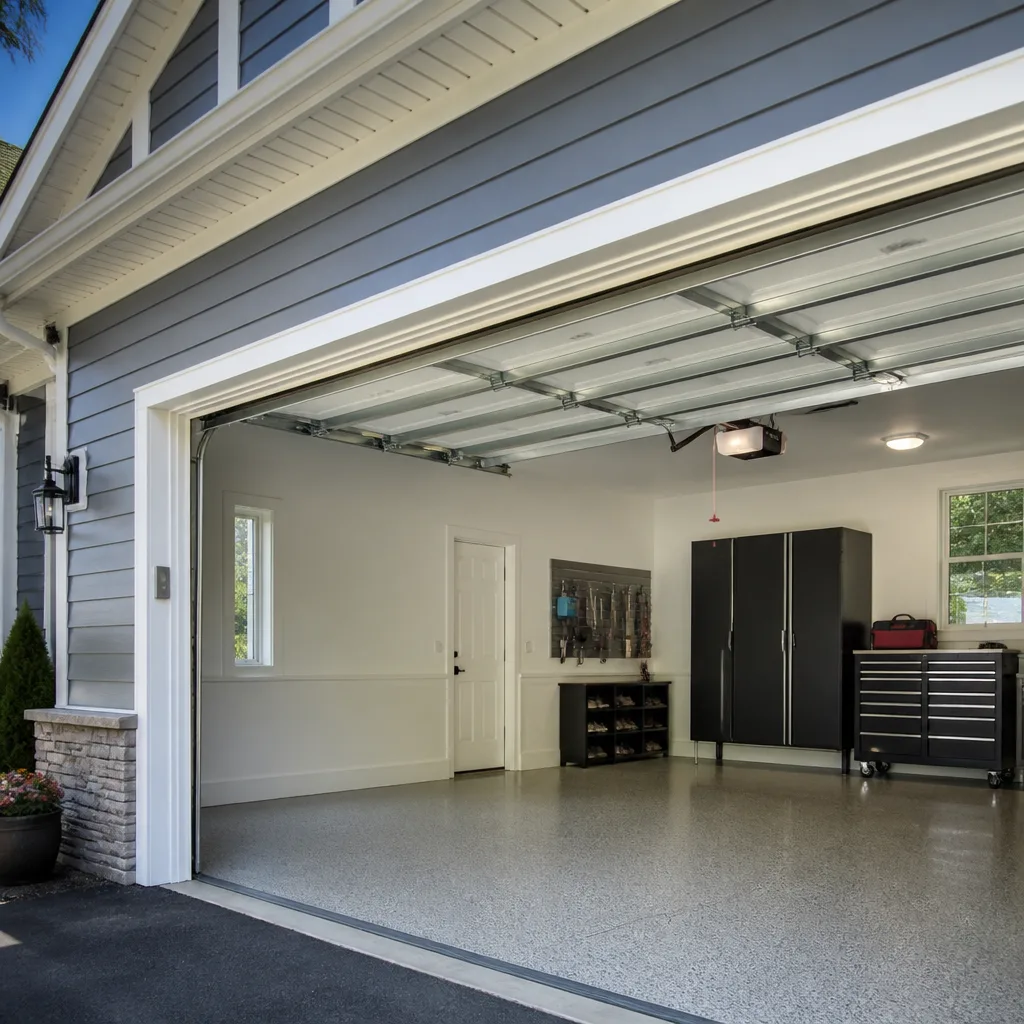 LiftMaster openers
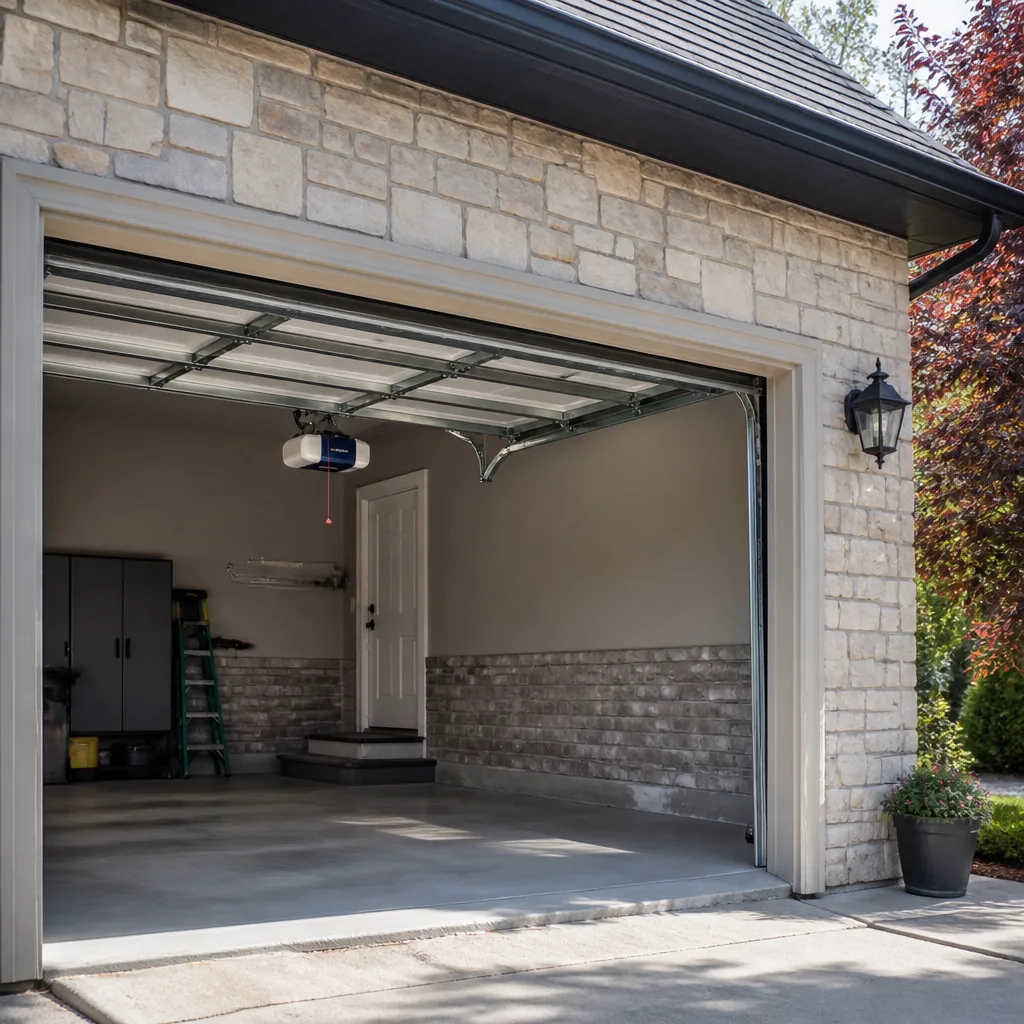 Chamberlain openers
Full 25-point door and opener safety check with every visit - springs, cables, rollers, tracks, and your LiftMaster or Chamberlain opener included
You get a price before we start. It does not change when the pro arrives.
Get your free estimateDIY vs Professional Garage Door: The Stamford Homeowner’s Decision Guide
Most homeowners assume the DIY-versus-professional question comes down to skill. If you’re handy enough, do it yourself; if you’re not, hire someone. That framing misses the real issue. Garage door work splits into tasks that are genuinely safe to handle, tasks that are doable with research and the right tools, and tasks that carry injury risk no amount of careful technique can reduce. A torsion spring holding a door under tension doesn’t care how steady your hands are. This guide sorts the work into those three buckets, explains what Connecticut liability looks like when unpermitted work goes wrong, and shows you how to use DIY diagnosis to make a professional repair visit faster and less expensive. We’ll reference Stamford conditions as we go.
Quick Answer
Safe DIY garage door tasks include lubricating moving parts, tightening visible bolts, cleaning photo-eye lenses, and adjusting safety sensor alignment. Torsion spring replacement, cable replacement, and anything involving the counterweight system are professional-only with no exceptions because those parts store dangerous energy. Everything else sits in the middle: doable yourself if you have the right tools and understand the mechanism, better handled by a specialist if you don’t.
Styles & brands we work with
- Raised-panel steel
- Carriage house
- Modern flush
- Full-view glass
- LiftMaster openers
- Chamberlain openers
Table of Contents
- The Three-Category Framework
- Safe DIY: What You Can Handle Yourself
- DIY-Possible With Research: The Middle Tier
- Professional-Only: No Exceptions
- Connecticut Liability When DIY Goes Wrong
- How to Evaluate YouTube Tutorials for Garage Door Repair
- The Middle Path: DIY the Diagnosis, Hire the Fix
- DIY Cost vs Service Call: The Honest Math
The Three-Category Framework
Garage door work doesn’t sort neatly into “easy” and “hard.” It sorts by what happens when a part fails unexpectedly. A door panel that’s slightly out of alignment is annoying. A torsion spring that lets go is a different category of event entirely. That distinction is what separates the three tiers.
Category one is safe DIY. These are maintenance and adjustment tasks where the worst outcome is a door that still doesn’t work and a wasted afternoon. Lubrication, bolt checks, sensor cleaning, weatherstripping replacement. No stored energy hazard, no lifting risk beyond normal caution.
Category two is DIY-possible with research. These tasks require understanding how the system works before you touch it. Roller replacement, track adjustment, opener force-limit tuning, remote programming. You can handle them if you have the right tools and can find reliable guidance for your specific opener model. The failure mode is usually a door that binds or an opener that won’t close properly, not an injury.
Category three is professional-only. Torsion springs, extension springs, and the cables that run alongside them. These components store enough mechanical energy to cause serious injury when they release. The risk is binary, not graduated. Careful technique doesn’t reduce it the way it reduces the risk of, say, a misdrilled cabinet hinge. The spring is either under tension or it isn’t, and releasing that tension incorrectly is where injuries happen.
One more Stamford-specific wrinkle: humidity and temperature swings. Stamford sees cold winters and humid summers, and that cycle works on metal. Springs fatigue faster, and hardware loosens as wood and metal expand and contract through the year. A door that felt fine in October can feel heavy and sluggish by February. That seasonal pattern doesn’t change which category a task falls into, but it does mean Stamford homeowners end up checking their doors more often than someone in a milder climate.
Safe DIY: What You Can Handle Yourself
The safe DIY list is short, and that’s the point. These tasks carry no stored-energy hazard and require nothing more exotic than basic hand tools and a stepladder.
- Lubricate hinges, rollers, and springs. A garage door has moving parts that dry out and start to squeal. A silicone-based lubricant on hinges and a proper garage door lubricant on rollers goes a long way. Don’t use WD-40 as a lubricant; it’s a penetrant, and it attracts dust that turns into grinding paste. This is the single highest-value thing most homeowners can do for their door.
- Tighten visible bolts and track brackets. Vibration from daily use loosens the bolts that hold the track brackets to the wall and the hinges to the panels. Check them by hand every few months. Snug, not cranked. Over-tightening warps the track.
- Clean the photo-eye lenses. The two small lenses near the floor on either side of the door are safety sensors. Dust, cobwebs, and dead bugs block them and cause the door to reverse or refuse to close. A soft cloth and a check that both are aimed at each other solves most of these.
- Adjust sensor alignment. Both lenses have a small LED that should glow steadily when aligned. If one is blinking, the lenses aren’t lined up. Nudge the bracket gently until both are solid. This is a five-minute fix that prevents a lot of “my door won’t close” service visits.
- Replace weatherstripping and bottom seals. The rubber seal along the bottom edge and the weatherstripping around the frame keep out drafts, water, and small pests. They’re wear items, they slide out and slide back in, and replacing them doesn’t involve the spring, cable, or lifting mechanism.
- Test the safety reverse. Put a two-by-four flat on the ground under the door and close it. The door should reverse on contact. If it doesn’t, the force limits need adjusting, which is the edge of safe DIY and leads into the next section.
None of this requires a permit, a professional, or special knowledge. It’s maintenance, and it pays for itself by extending the life of the door components that fail most often. If you do nothing else, keep the moving parts lubricated and the sensors clean. For a Stamford homeowner, that’s the difference between a door that lasts its expected years and one that starts complaining early.
DIY-Possible With Research: The Middle Tier
The middle tier is where most homeowners get into trouble, not because the task is dangerous but because they underestimate what it requires. These jobs are genuinely doable, but only if you understand the mechanism before you start.
- Replacing rollers. The rollers that guide the door in the track wear out and get noisy. Replacing them is a straightforward job as long as the door is in the down position and you remove and replace one roller at a time, keeping the door seated. The trick is knowing that you never remove the bottom bracket, which is under cable tension. Watch for that in any tutorial you follow.
- Adjusting the track. Tracks get bumped out of alignment, especially with a car or bike that grazes them. Straightening a slightly bent track with a rubber mallet and a piece of wood is doable. If the track is off by more than a quarter inch, or if the door binds even after adjustment, the door panels themselves may be out of square, which is beyond DIY.
- Tuning the opener’s force limits. Every opener has force-limit adjustments for open and close. If the door reverses for no reason or won’t fully close, these can be checked and adjusted per the manual. This is possible with research, but only for the opener model you actually have. Different brands adjust differently, which is why matching the tutorial to your specific unit matters.
- Programming remotes and keypads. This varies wildly by brand. A Chamberlain or Genie opener has a learn button on the motor housing and a specific sequence to follow. Craftsman and LiftMaster models have their own procedures. This is one of the most common calls we get, and it’s almost always solvable in a few minutes with the owner’s manual.
- Replacing a broken extension spring, if the door is fully down and you follow the manufacturer’s method. This is genuinely on the boundary. Extension springs run along the top of the door and store less energy than torsion springs. Some are safe to replace with the door down and the proper safety cable in place. That said, if you’re not certain which type you have, treat it as professional-only.
The honest cost of doing these yourself includes the tools and the time. A socket set, a rubber mallet, a proper lubricant, a stepladder, and a couple of hours. If you already own the tools, the math favors DIY. If you’d be buying tools for a one-time job, the math flips, which is where the next section comes in.
Professional-Only: No Exceptions
There are parts of a garage door system that should never be touched by a homeowner. This isn’t a warning about being careful; it’s a warning that the component itself is dangerous no matter how careful you are.
Torsion springs. These are the horizontal springs mounted above the door on a metal shaft. They hold the entire weight of the door under tension. Replacing one requires winding the spring to a specific number of turns under load, and the tools involved are specific to the job. If a torsion spring releases unexpectedly, it can cause serious injury. A knowledgeable neighbor wouldn’t tell you to try this; we won’t either. This is where a specialist belongs.
Cables. The cables running from the bottom corners of the door up to the drums at the top are under constant tension from the spring system. They’re what connects the spring’s stored energy to the door. Cables fray, kink, or slip off the drum, and any of those conditions means the door should come down and stay down until the cable is replaced. Never try to reseat a cable that’s come off the drum yourself.
Bottom brackets. The brackets at the bottom corners of the door are where the cables attach. They’re under cable tension. Some tutorials mention loosening or adjusting them. Don’t. The bottom bracket is one of the parts we see cause injury, and it’s a part that gets overlooked in DIY guides because it doesn’t look dangerous. It is.
Door panel replacement. Replacing a damaged panel sounds simple until you’re balancing a panel that weighs as much as a person while keeping the rest of the door in place. The risk here is less about injury and more about the door coming off its tracks and needing complete realignment, which is more expensive than the panel.
Full door replacement. A new door is a different job from a repair, and it involves removing the old system, assessing the framing, and installing a new one with fresh springs and cables. This is measuring-and-scheduling work, not a repair. Everything has to be ordered and fitted correctly. No same-day promise applies here; a free measure and a written price is the realistic first step.
For Stamford homeowners specifically, one local note: older homes in neighborhoods like Glenbrook and Springdale often have original doors from decades ago with original springs. Those spring systems aren’t necessarily dangerous to have in place, but they are at the end of their service life, and replacing them is not a DIY job. A spring that’s been working for thirty years has been working against the same fatigue cycle the whole time, and the day it fails is not a good day to discover it.
Connecticut Liability When DIY Goes Wrong
Liability is the part of the DIY question most guides skip, and it matters more than most homeowners realize. When unpermitted or improperly executed work causes property damage or injury, the consequences reach into homeowner’s insurance and, in some cases, property sale and permitting.
Connecticut, like most states, ties garage door construction and major installations to local permitting. Adding a door or making structural changes to the opening generally requires a permit through the Stamford building department. Replacing a spring or repairing a cable does not, because those are repairs to an existing system. But renovating the opening, changing the door size, or altering the framing does, and doing that work without a permit can complicate a future sale when the buyer’s inspector or the title search flags unpermitted work.
On the injury side: homeowner’s insurance covers injuries that happen on your property to guests, but a DIY injury to yourself is a different matter, and a DIY-caused injury to someone else can become a negligence claim if the work was done improperly. More common, but less discussed, is the property damage angle. If a DIY repair causes the door to fall and damage a vehicle, the insurer may investigate whether the repair was performed to standard. A professional repair comes with a paper trail. A DIY spring job does not.
One practical rule: ask the city’s building department before any structural work on the opening, whether you plan to do it yourself or hire it out. Most cities require a permit for this kind of work, and Stamford is no different. The cost of a permit and an inspection is far less than the cost of resolving unpermitted work at sale. And if you’re hiring, verify the contractor is licensed and insured. For garage door work, that’s a professional obligation, not an optional nicety.
None of this means you shouldn’t touch your door. It means the line between “maintenance” and “construction” matters, and it’s worth knowing which side of the line a task sits on before you start.
How to Evaluate YouTube Tutorials for Garage Door Repair
YouTube is where most homeowners start, and it’s a mixed bag. Some videos are genuinely useful. Many are subtly wrong in ways that only become apparent after you’ve followed them. Here’s what to watch for.
- Check the video date and the door type. Garage door systems from twenty years ago can look identical to current ones from the outside and be completely different inside. A tutorial from 2009 on a door that predates current safety requirements may be giving advice that doesn’t apply to your door. Check the date and whether the video specifies the brand and model.
- Look for the disclaimer. Videos that skip the safety warning about springs and cables and go straight to “here’s how to do it” are giving you information without the context that makes it usable. Any tutorial that treats spring work as a normal DIY task is one to close immediately.
- Watch what’s shown versus what’s said. This is the biggest gap. A video may say “loosen the bolt” without showing that the bolt is under tension from a cable you can’t see. Experienced technicians notice the tension path immediately; a homeowner watching a video doesn’t, because the camera doesn’t frame it. If a step involves a part that has a cable, spring, or bracket attached to it, assume there’s a load on it and don’t proceed without understanding how it’s released.
- Match the tutorial to your brand. The opener programming, remote pairing, force-limit adjustment, and safety-reverse testing all differ by brand. A video on a Chamberlain opener may not apply to a Genie, and vice versa. Search your specific brand and model.
- Read the comments for the “it didn’t work” reports. Multiple comments saying “followed every step and my door still won’t close” are a signal the video is incomplete. That’s where a technician can save you time; what the video misses is usually a step that requires understanding the mechanism, not just following directions.
- Be honest about your tools. A tutorial that assumes a torque wrench, a winding bar set, or a specific opener programming tool is not a beginner job. If the video’s tool list sounds like a professional kit, the job isn’t DIY.
In our experience, the most useful DIY videos are the ones that focus on diagnosis and maintenance: how to tell what’s wrong, how to lubricate, how to test the safety reverse. The ones to be skeptical of are the ones showing repairs on springs, cables, and bottom brackets. Those aren’t wrong because they’re dangerous to watch. They’re wrong because they present a task with a binary risk as if it had a skill gradient.
The Middle Path: DIY the Diagnosis, Hire the Fix
Here’s a strategy that gets you the best of both worlds: do the inspection yourself, then hire a professional to do the repair. A good diagnosis makes the service visit faster, which means less time onsite and a more accurate estimate. Here’s how to do a thorough inspection before you call.
- Listen to the door. Open and close it slowly. Note where the noise happens: a squeal at the top is usually a roller or spring, a rattle is usually a loose bolt or panel, a grinding sound is usually the opener’s chain or screw drive. Write it down. A technician who hears “it grinds at the top on the way down” can diagnose faster than one who hears “it’s making a weird noise.”
- Note where the door binds. If the door stops or hesitates at a particular point in its travel, that tells the technician whether it’s a track issue, a roller issue, or a spring issue. A door that binds at the top and a door that binds at the bottom are different problems.
- Test the safety reverse. Put a two-by-four flat under the door and let it close. If it doesn’t reverse, the force limits or the safety sensors need attention, and that’s a detail worth mentioning when you call.
- Photo-eye check. Verify both LEDs are solid and aligned. If one is blinking, note it. This alone solves a lot of “won’t close” calls, and if it doesn’t, the technician knows to look elsewhere.
- Check the door balance. Open the door halfway by hand (with the opener disconnected, if you can do so safely). Let go. A balanced door stays put. A door that drops on its own has spring tension problems. Don’t do this if the door is already struggling.
- Look at the springs and cables. Note the color code on the torsion spring (the painted end tells you the size), whether the cables look frayed, and whether any hardware on the door is loose. Don’t touch them; just note what you see.
- Note the opener brand and model number. The model number is usually on a label on the motor housing. Knowing you have a Genie or a Chamberlain or a LiftMaster before the technician arrives makes the visit faster. If the opener isn’t responding at all, a garage door opener repair call is the right move, and the model number is the first thing we’ll ask for.
Clover Garage Door Service works on virtually any system a homeowner already has, and the eight brands we service include LiftMaster, Chamberlain, Genie, Clopay, Amarr, Wayne Dalton, Craftsman, and Raynor. That matters for the middle path because it means the technician who arrives already knows the system in your garage. If you’ve done the inspection yourself, you can tell them on the phone what you found, and the visit becomes a fix rather than a diagnosis. Garage doors are all we do, and that focus is why a fast diagnosis is realistic.
DIY Cost vs Service Call: The Honest Math
The math on DIY versus a professional is less about the price of a part and more about what the task actually costs you in tools, time, and risk. Here’s a reasonable way to think about it.
- Safe DIY tasks cost you almost nothing beyond a can of lubricant and fifteen minutes. These are always worth doing yourself.
- Middle-tier tasks cost roughly the price of the part plus whatever tools you’re missing. A roller set is inexpensive; a socket set you don’t own is not. If you already have the tools, DIY usually wins. If not, factor in the tool cost against a single service visit and you may find them comparable.
- Professional-only tasks should never be a cost comparison. The downside risk of a spring or cable failure isn’t measured in dollars saved on a part.
If you want a typical cost range for a service visit, ask for a written estimate for your specific door and issue. We can give you a free estimate in Stamford so you know what the job actually costs before anything starts. The written estimate sets the price, and it’s quoted and agreed before any work begins. That’s true for a repair, an opener fix, or a new installation.
The real cost of DIY isn’t the part. It’s the tools, the time, the risk of a second problem caused by the first, and the possibility of a callback to fix what the tutorial missed. For a Stamford homeowner with a busy schedule, the equation usually favors hiring out the middle and upper-tier tasks and keeping the maintenance in-house.
Common Mistakes to Avoid
- Trying to lubricate a torsion spring to “fix” a door that’s out of balance. Lubrication quiets noise; it doesn’t restore spring tension. If the door is dropping on its own, it needs a spring adjustment, not grease.
- Pushing a door’s travel limits to force it closed. Adjusting the opener’s force limits beyond the manufacturer’s setting to force the door shut over a binding track is one of the most common ways a small repair becomes a big one. The setting is a safety feature; if the door won’t close, find and fix the reason, don’t override the protection.
- Assuming a Stamford door’s seasonal sluggishness is normal. Cold weather thickens grease and tightens tolerances, but a door that’s noticeably heavier in January than in July is telling you something. That’s a sign the spring tension needs checking, and it’s a call worth making before it fails.
- Not checking whether the door is under a warranty. Some doors and openers carry a warranty that can be affected by DIY work. Check before you start. A Clopay or Amarr door with a warranty is worth protecting.
- Skipping the permit question on structural work. If you’re changing the door size or the opening, the city’s building department should be your first call, not your last.
- Following a tutorial for the wrong opener brand. Remote programming, force limit adjustment, and sensor troubleshooting vary significantly between a Genie, a Chamberlain, and a Craftsman. A step that works on one can cause a problem on another.
- Doing a repair without noting the model and repair history. If a task doesn’t go as planned, having the model number and a note about what you tried saves a lot of diagnostic time.
These are the mistakes we see most often, and most of them are avoidable with a little honesty about what category a task falls into. Call (855) 632-3568 for a free estimate if you’re uncertain. We answer 24/7, and dispatch runs from 7am to 7pm, Sunday through Friday.
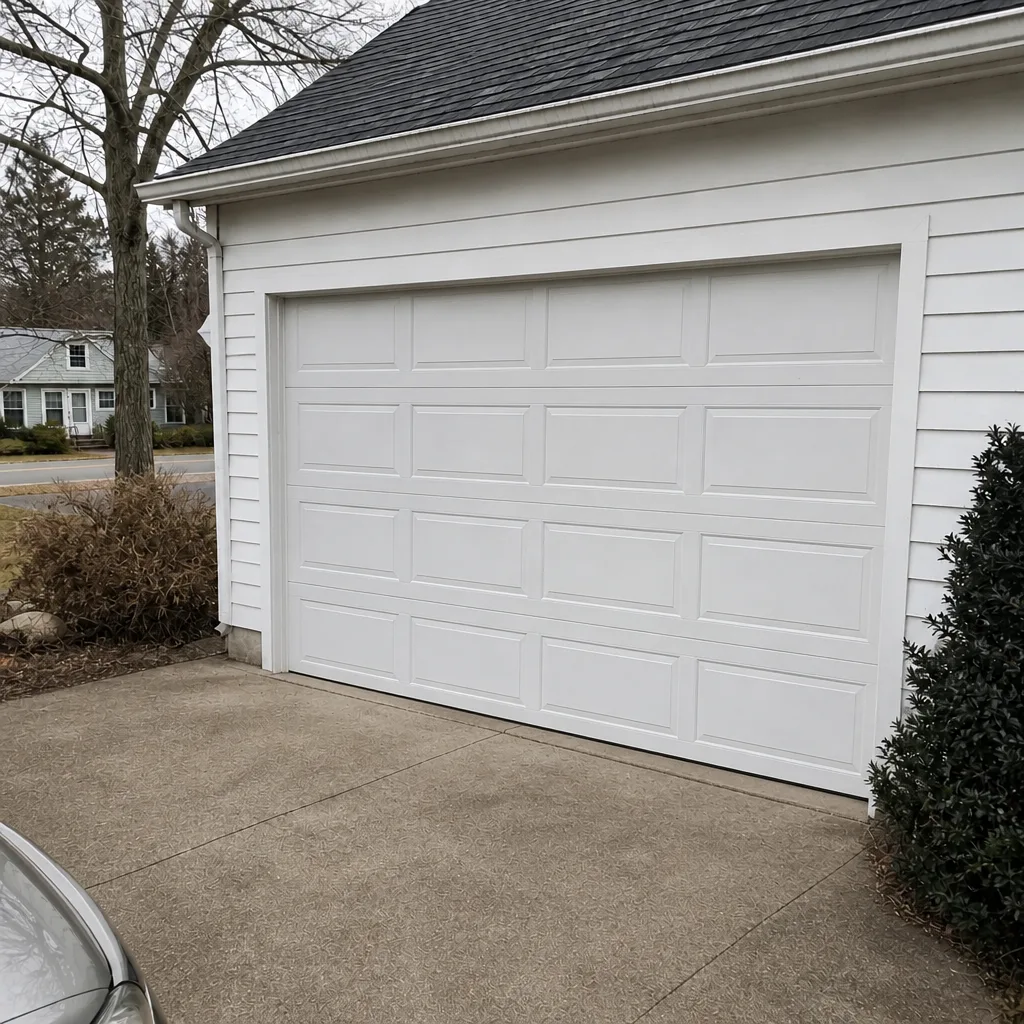
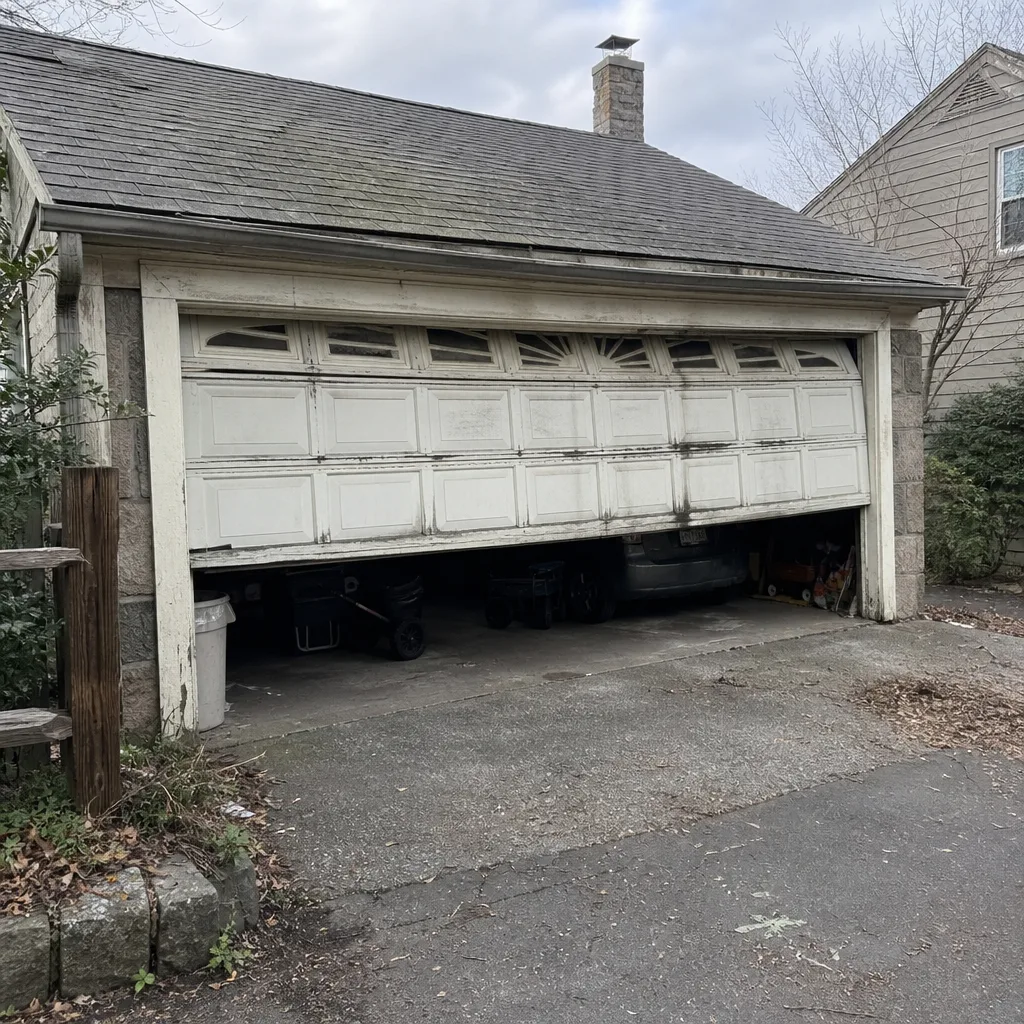
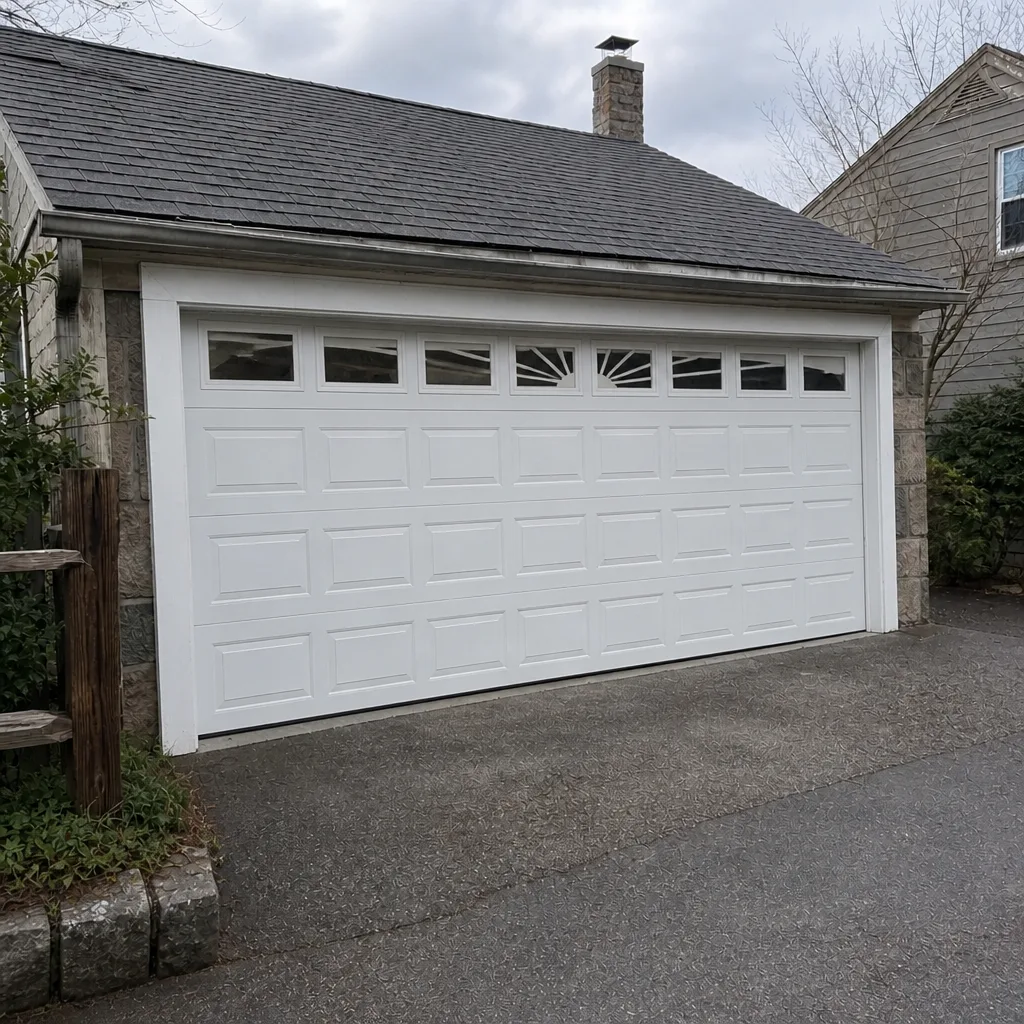
See the difference
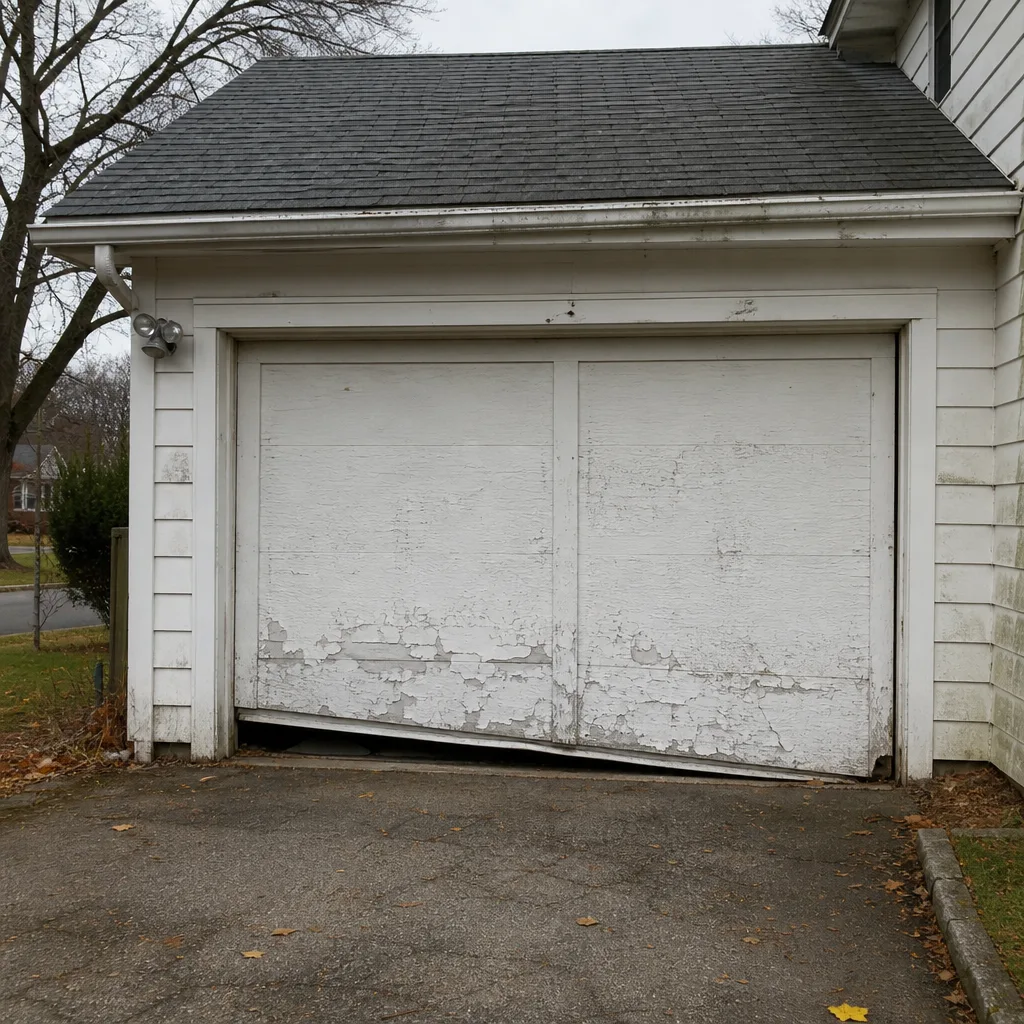 Before
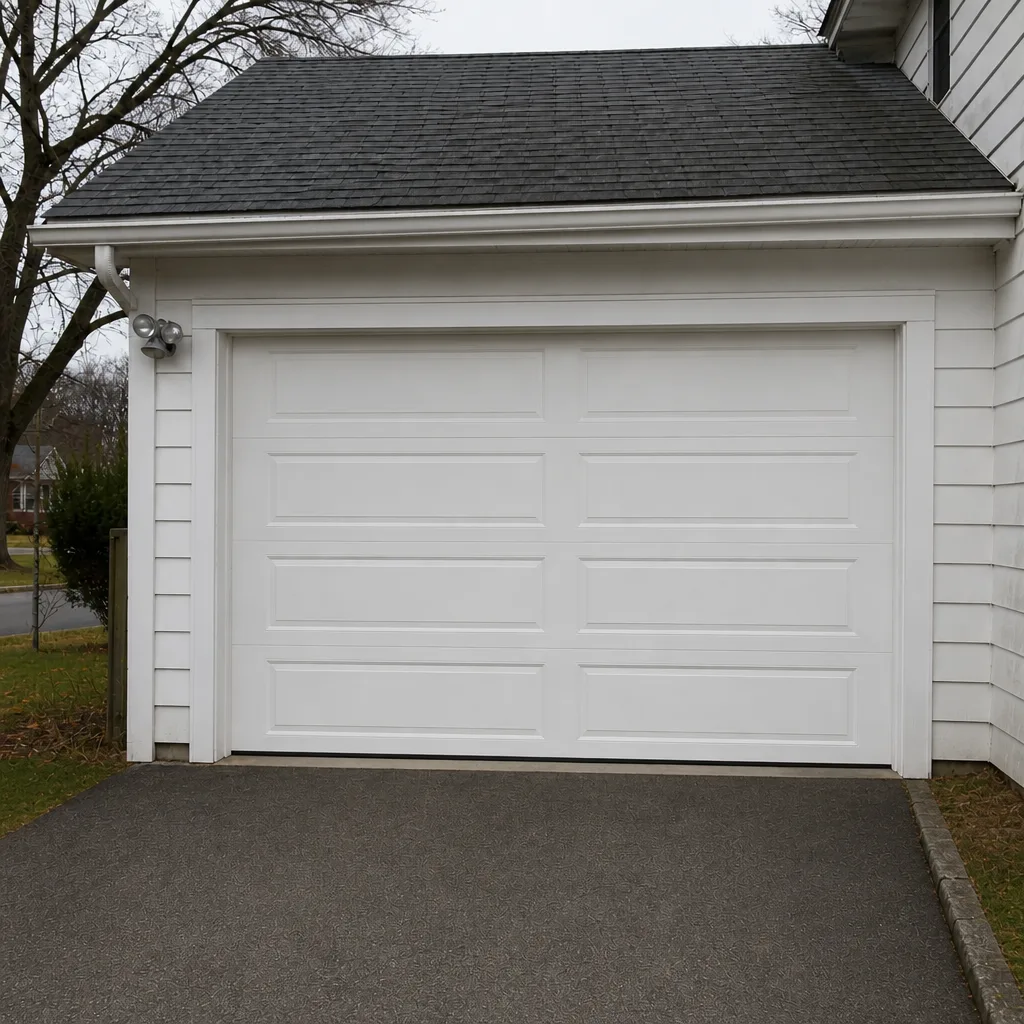 After
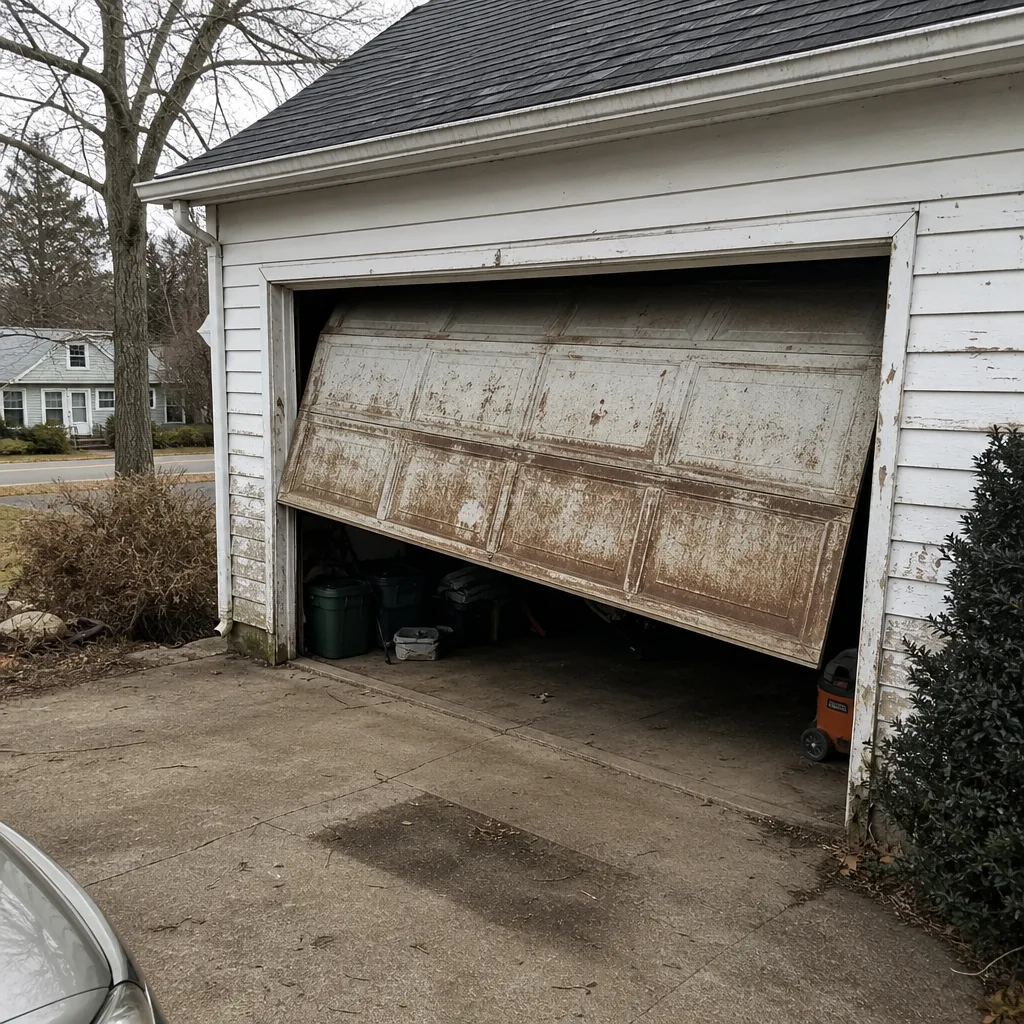 Before
 After
 Before
 After
When to Call a Professional
Call a professional for anything involving the spring, cable, or bottom bracket, for any door that won’t close safely, and for any repair you’ve tried that didn’t resolve the problem. A door that reverses for no reason, one that comes off its track, or a cable that’s come loose all need a trained technician. So does anything you’re unsure about; the cost of a service visit is far less than the cost of a bad outcome.
It also makes sense to call if the diagnosis itself is the problem and you’d rather get a reliable answer than spend the afternoon guessing. We offer free estimates in Stamford. If the door needs a repair, we’ll tell you; if it needs an opener fix, we’ll tell you. If it just needs maintenance, we’ll tell you that too. Call (855) 632-3568. We answer 24/7. Fast dispatch from 7am to 7pm, Sunday through Friday.
For a repair, our garage door repair team handles the full range, from a snapped spring to a full new installation. We work on the brand you already have, and we don’t sell you a new door when a repair will do. If you’re in the Stamford area and want to know what’s realistic for your door, start with a Stamford call to the team. Our technicians have up to 8 years of experience, and garage doors are all they work on.
Frequently Asked Questions
No. A torsion or extension spring is under heavy tension and can cause serious injury if it releases unexpectedly. The risk is binary rather than something that careful technique reduces, so this is a professional job with no DIY exception. Call a specialist.
It depends on the task. Lubrication, sensor cleaning, bolt tightening, and weatherstripping are worth doing yourself because they cost almost nothing and extend the door’s life. Roller replacement, opener tuning, and remote programming are worth doing yourself only if you have the tools and the right brand-specific guidance. Springs, cables, and bottom brackets are never worth the risk.
It depends on the nature of the failure. Damage to a vehicle from a door that fell may be covered under your auto or homeowner’s policy, but the insurer may look at whether the repair work was done to standard. A professional repair comes with a documentation trail; a DIY repair doesn’t. Check with your insurer before relying on coverage.
Replacing a door of the same size in the same opening is usually a repair and may not require a permit, but changing the size or altering the framing generally does. Ask the Stamford building department directly before starting, and if you’re hiring, verify the contractor is licensed and insured. Most cities require a permit for structural changes, so a quick call removes the guesswork.
If the door is heavy or drops on its own, it’s the spring or the balance. If the door is light but won’t move when you press the button, it’s the opener or the sensors. A simple test: with the opener disconnected and the door halfway open, let go. If it stays put, the door balance is fine and the issue is likely the opener. If it falls, the spring needs attention.
We answer 24/7, and fast dispatch runs from 7am to 7pm, Sunday through Friday. Call (855) 632-3568 and we’ll book the earliest opening. We’re closed on Saturday. The price is quoted and agreed before any work starts, so you’ll know the cost before a technician begins.
The Bottom Line
The DIY-versus-professional question isn’t about how handy you are. It’s about sorting each task by what happens when it fails. Maintenance and adjustment are yours to keep. Middle-tier tasks are worth doing yourself if you have the right tools and brand-specific guidance, and worth hiring out if you don’t. Springs, cables, and bottom brackets are the professional’s job, every time, because the risk is binary. For Stamford homeowners, that means more frequent spring checks and hardware inspections because of the seasonal swing. DIY the diagnosis, hire the fix, and keep the maintenance in-house. That’s the balance that saves money without gambling on the parts that matter. Call (855) 632-3568 for a free estimate. We answer 24/7, with fast dispatch from 7am to 7pm, Sunday through Friday. Clover Garage Door Service works on the brand you already have, and Clover Garage Door Service handles repair, opener repair, and installation with the same specialist focus.
Written by the team at Clover Garage Door Service.