
Last updated November 15, 2026
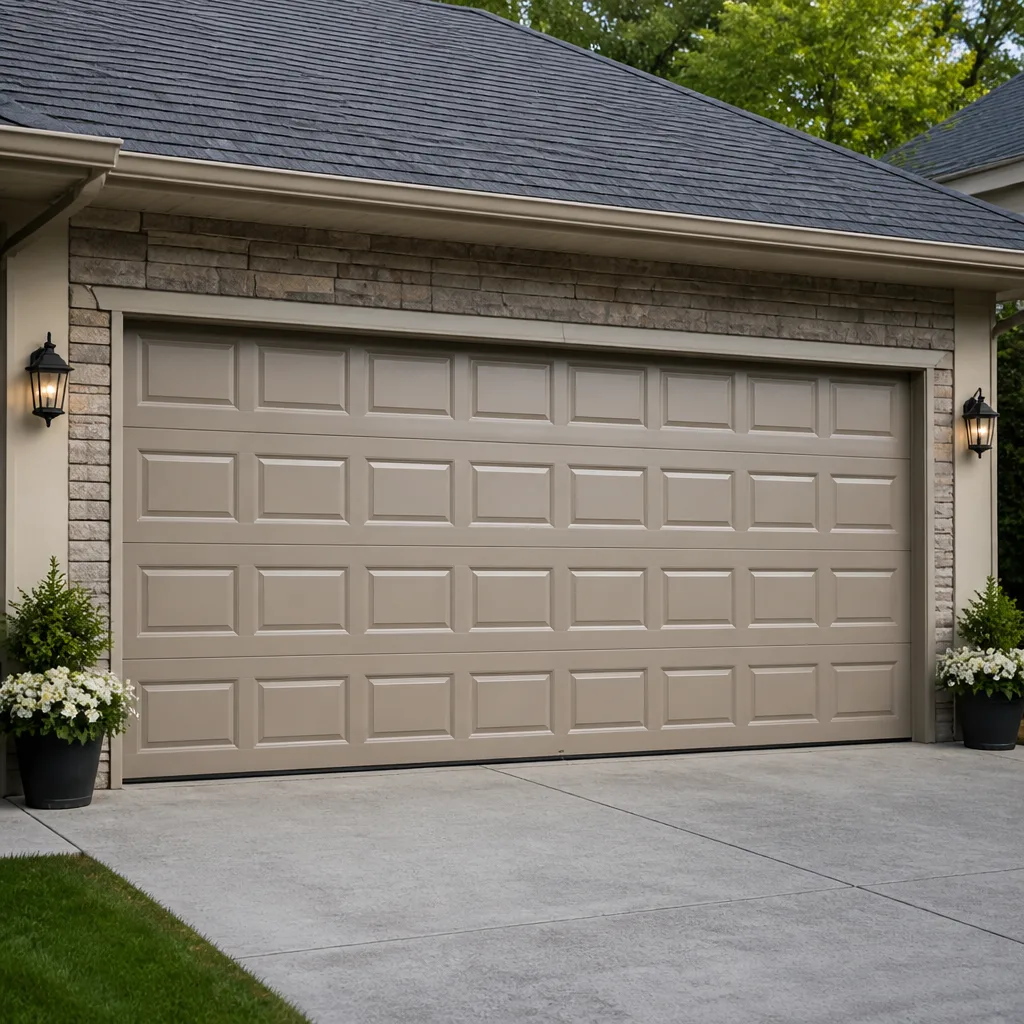 Raised-panel steel
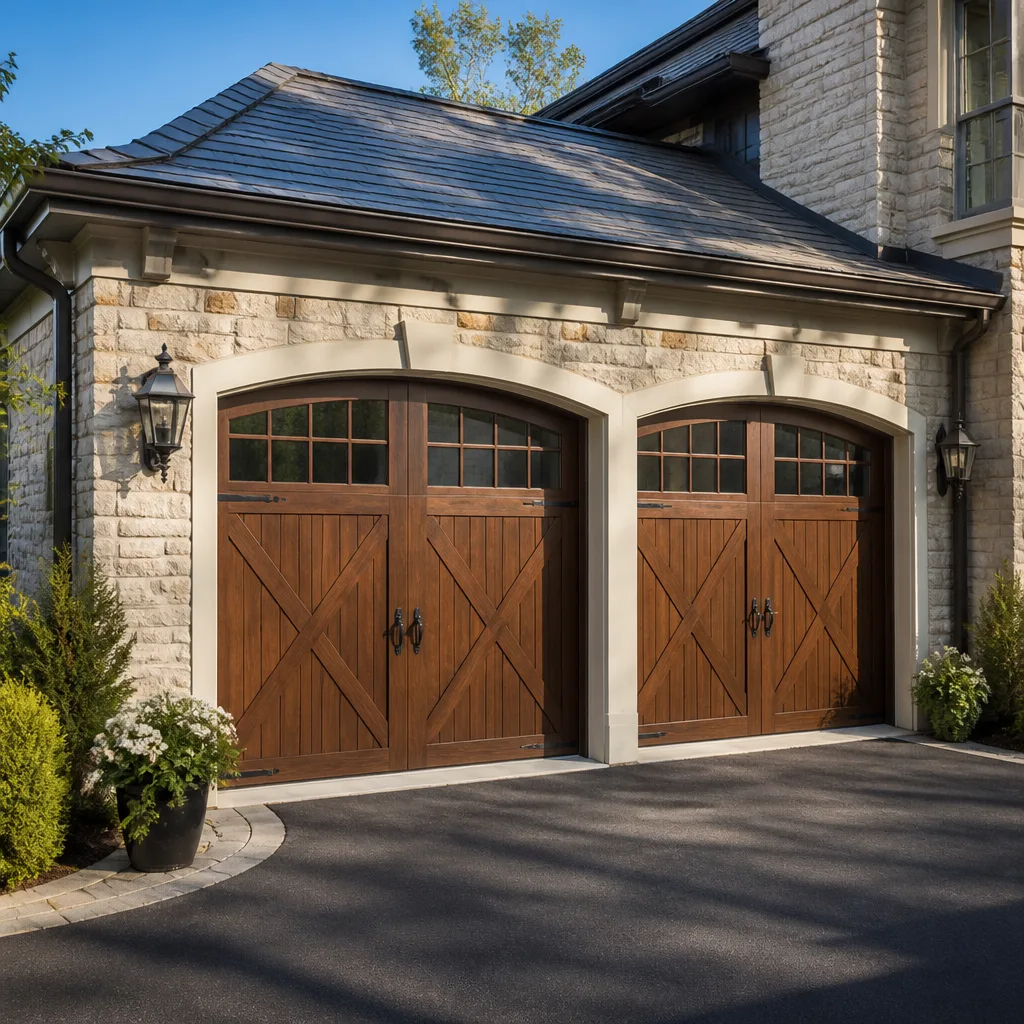 Carriage house
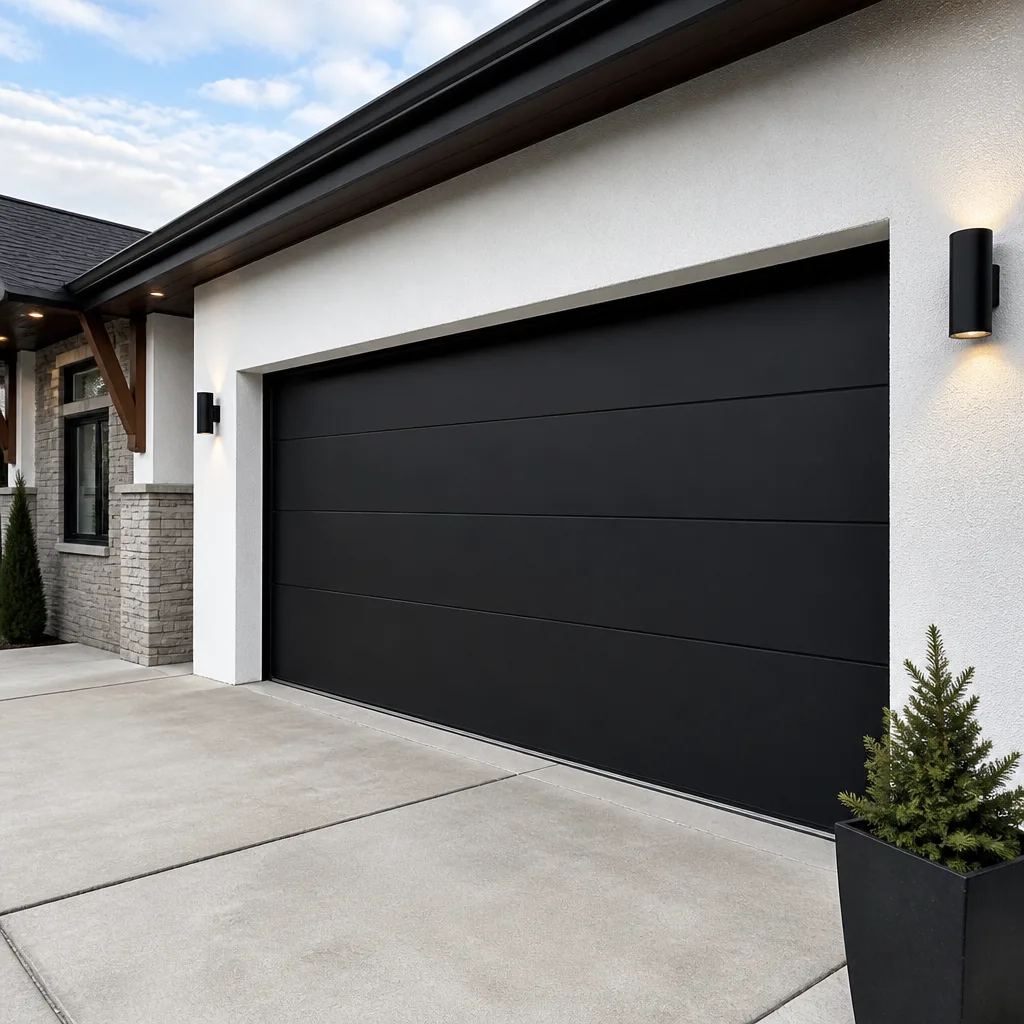 Modern flush
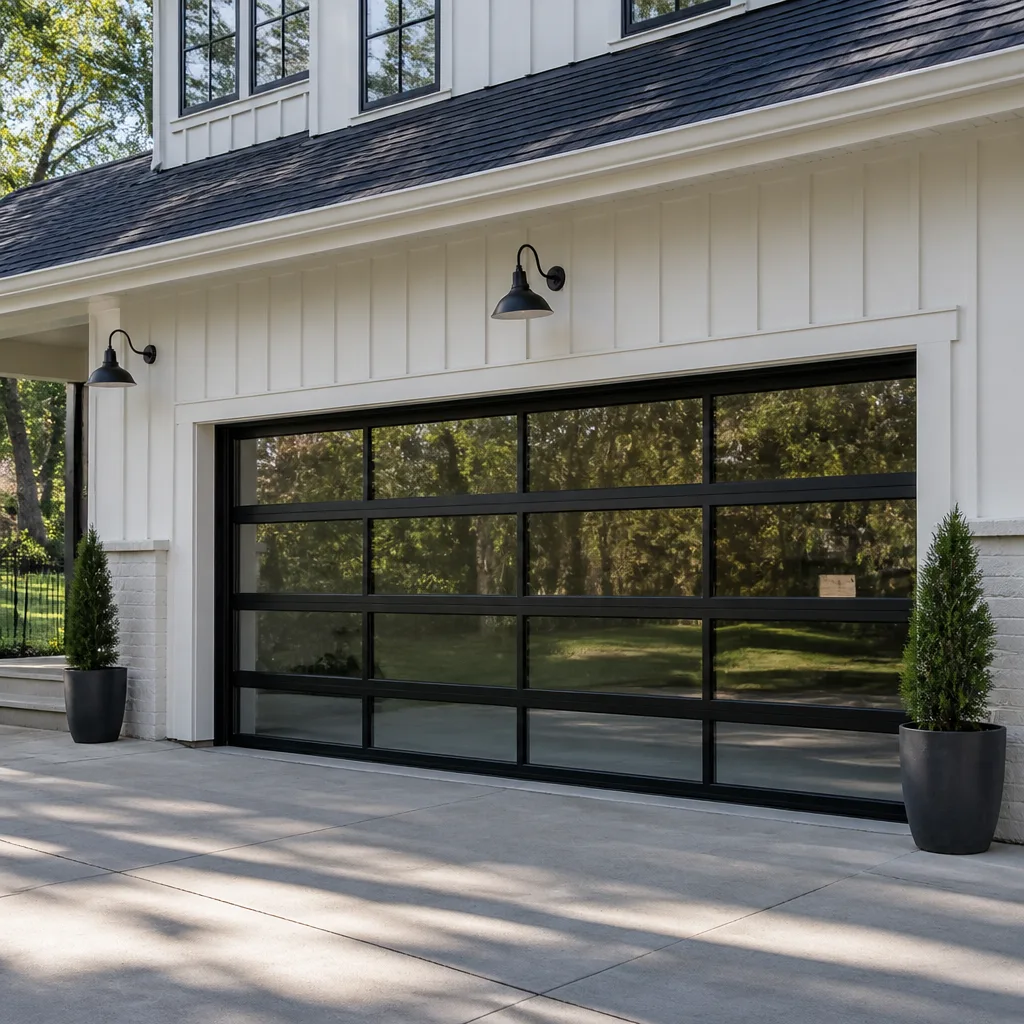 Full-view glass
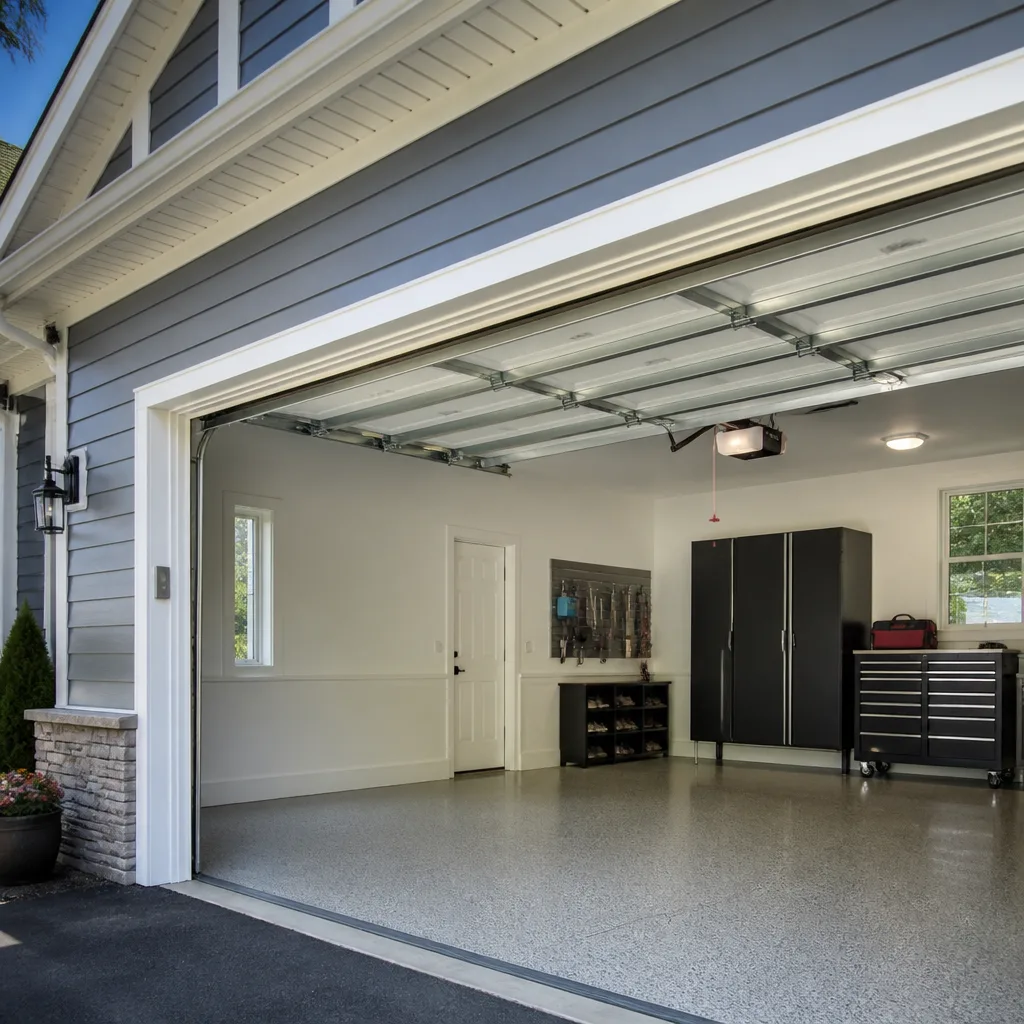 LiftMaster openers
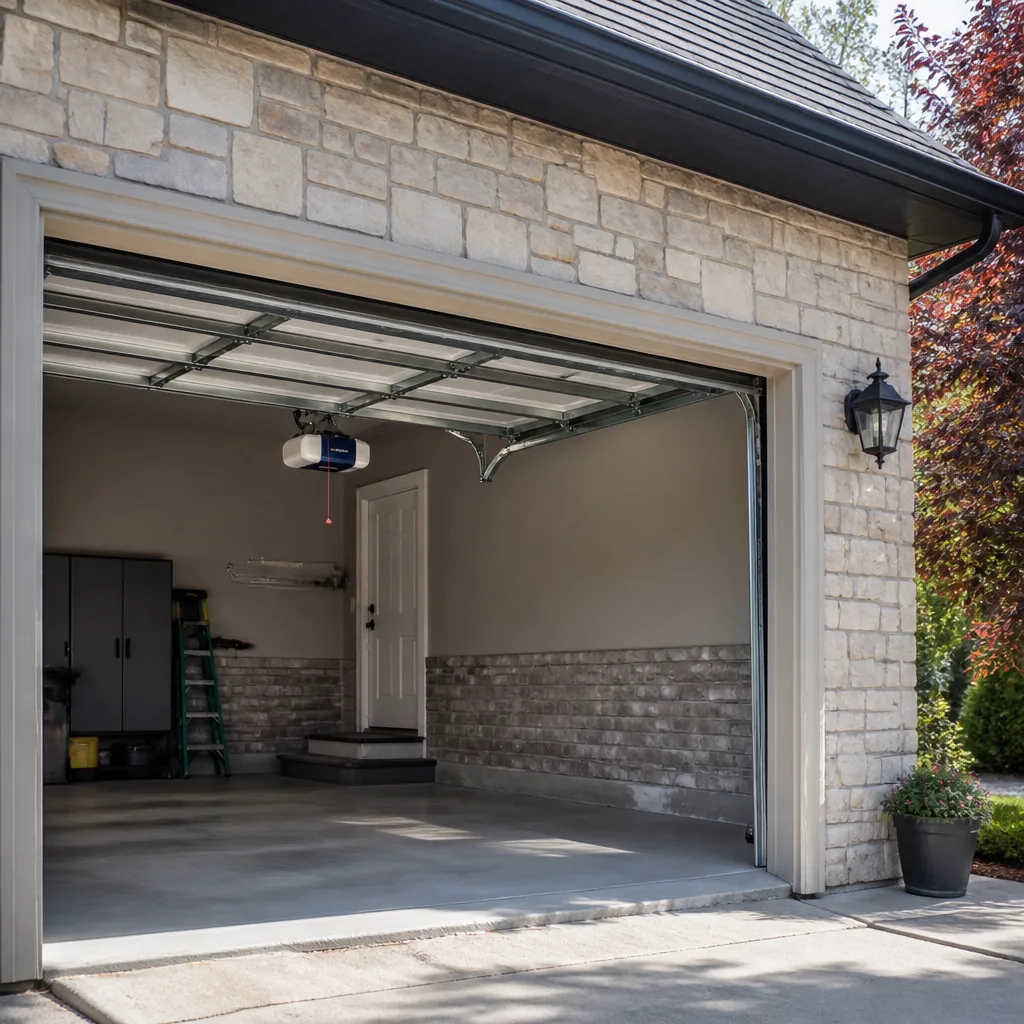 Chamberlain openers
Full 25-point door and opener safety check with every visit - springs, cables, rollers, tracks, and your LiftMaster or Chamberlain opener included
You get a price before we start. It does not change when the pro arrives.
Get your free estimateGarage Door Repair Maintenance Checklist for Stamford Homeowners
Most garage door maintenance lists floating around the internet were written for a climate that doesn’t freeze. They tell you to wipe down the tracks and call it a day. Here in Stamford, the door on your house goes through four genuinely different seasons, and the failures line up with that calendar almost like clockwork. What freezes in January tears in March. What swells in July loosens by October. We’ve built this checklist around the way doors actually age in Fairfield County, not a generic quarterly list. By the end you’ll know what to check yourself, what to leave alone, and what to write down so a technician can spot a trend instead of starting from scratch every visit.
Styles & brands we work with
- Raised-panel steel
- Carriage house
- Modern flush
- Full-view glass
- LiftMaster openers
- Chamberlain openers
Quick Answer
A garage door maintenance checklist for Stamford homeowners should be sequenced to the local weather calendar, not split evenly across the year. The three priorities are protecting the bottom seal before hard freezes, lubricating moving parts with a product that stays fluid in sub-freezing temperatures, and logging what you find at each inspection so deterioration shows up as a trend. Spring tension and cable condition are inspection-only items for a homeowner and hands-on work for a trained technician.
Table of Contents
- Why a Stamford Maintenance Calendar Looks Different
- Fall: The Prep That Pays Off in January
- Winter: The Season That Breaks Things
- Spring: Thaw, Freeze, Repeat
- Summer: Heat, Humidity, and Hardware
- The Lubrication Guide: What Works Below Freezing
- What to Log at Every Inspection
- Stop-and-Call: Where DIY Inspection Ends
- Common Mistakes to Avoid
- When to Call a Professional
- Frequently Asked Questions
- The Bottom Line
Why a Stamford Maintenance Calendar Looks Different
A maintenance schedule only works if it matches the conditions the door actually lives in. Stamford sits in a part of Connecticut where the ground freezes and thaws repeatedly through the colder months, where summer brings real humidity, and where a driveway that faces the weather can hold ice at the door’s base long after the street has cleared. Those conditions attack different components at different times, which is why we sequence this checklist by season rather than by quarter.
The three components that take the hardest beating from freeze-thaw cycles are the ones a homeowner can safely look at: the bottom seal, the roller wheels, and the exterior weatherstripping around the frame.
- Bottom seal. The rubber or vinyl strip along the bottom edge of the door. When moisture gets under it and then freezes, it bonds to the concrete. The next time the opener lifts the door, the seal either tears away from the door or gets dragged and distorted.
- Roller wheels. Cold stiffens the bearings and thickens old grease. A roller that rolls freely in September can drag and flat-spot by February, and a dragging roller wears the track.
- Exterior weatherstripping. The trim around the opening. Freeze-thaw cracks it, summer sun bakes it, and by the time it’s visibly split, cold air and water have a path inside.
You don’t need a garage full of tools to check all three. You need a calendar and a habit. If you’d rather have a trained eye map out the failure points on your specific door, Clover Garage Door Service handles the whole lifecycle, from a torn seal to a full new installation, and the same specialist team covers both the mechanical door and the electronic opener that drives it.
Fall: The Prep That Pays Off in January
The most valuable maintenance you do all year happens in the fall, before the first hard freeze. Everything on this list is a homeowner-safe task. Do it once the leaves are down and the nights are consistently cold.
- Wash and dry the bottom seal. A clean, dry seal is far less likely to bond to the concrete than one carrying grit, salt tracked in on boots, and old grime. Wipe it down, let it dry fully, and treat it with a silicone-based protectant, not a petroleum product.
- Test the seal’s contact. Close the door and look along the bottom edge from inside. A seal that lets light through has a gap, and a gap lets water under the door where it can freeze.
- Lubricate the moving parts. Hinges, roller bearings, and the torsion or extension springs get a light coat of the right product. See the lubrication guide below for what holds up in the cold.
- Inspect the weatherstripping. Run a hand along the trim around the opening. Cracks and gaps show up now, before the wind and wet start pushing through them.
- Check the balance of the door. Disconnect the opener, lift the door by hand to about waist height, and let go. A well-balanced door stays put. One that drops or wants to rise needs a technician.
- Clear the tracks. Wipe the inside of the vertical and horizontal tracks with a dry cloth. Don’t grease the tracks themselves: they’re meant to stay clean so the rollers can roll, not slide.
Doing these six things in the fall is the difference between a season of quiet operation and a March service call. The checklist you’re reading exists because a torn seal is entirely preventable, and yet it’s the most common cold-weather failure we see across Stamford.
Winter: The Season That Breaks Things
Winter is inspection season, not repair season. Between fall prep and spring thaw, your job is to catch problems early, not to fix them yourself. The door is under the most stress it will see all year, and the components that fail are the ones you shouldn’t be putting a wrench to.
Watch for these warning signs through the colder months:
- Ice at the door base. If water pools under the door and freezes, don’t force the door open. Clear the ice first, or the seal tears and the opener strains.
- Slow or labored opening. A door that hesitates in cold weather can be telling you the springs are losing tension. That’s a professional call.
- Drag marks on the seal. These mean the seal is catching on something. Check the concrete for high spots or debris before assuming the seal is done.
- Rubbing or grinding from the tracks. Cold-stiffened rollers can flat-spot. A dragging roller usually shows up as a rhythmic sound as the door travels.
- The opener running harder than usual. Modern openers from LiftMaster and Chamberlain have force limits built in. If the door reverses on its own during a cold snap, the opener is protecting itself, and the underlying cause is probably spring tension or balance.
Snow and ice on the driveway near the door is a Stamford-specific issue worth planning around. Keep the area directly under the door clear so meltwater has somewhere to go other than freezing against the seal. If a door does fail in the cold, a technician who works on LiftMaster, Chamberlain, Genie, Clopay, Amarr, Wayne Dalton, Craftsman, and Raynor systems will arrive already knowing how yours is put together. For a repair that has to happen now, see garage door repair.
Spring: Thaw, Freeze, Repeat
Spring is the season of second chances and second failures. The freeze-thaw cycle that eased in winter revs up in March and April as daytime temperatures climb and nights still drop below freezing. A seal that survived the deep cold can still tear in the thaw when it’s wet and soft from meltwater.
- Check the seal early and often. If it’s wet and stretched from meltwater, avoid opening the door before it has a chance to dry.
- Wash off the winter grime. Road salt and grit tracked into the garage and onto the seal should be rinsed away so it doesn’t work its way into the rubber.
- Re-inspect the weatherstripping. Freeze-thaw cracks it in a way summer heat doesn’t. Any split that lets daylight through is worth replacing.
- Listen to the rollers. If winter flat-spotted them, spring is when you’ll hear the rhythmic bump. Rollers are cheap to replace and expensive to ignore, because a flat-spotted roller wears the track.
- Check the balance again. The door should still hold at waist height. If it doesn’t, spring tension has drifted over the winter and needs a professional adjustment.
Spring is also when homeowners first notice their opener behaving oddly. The opener gets blamed for a lot of door problems it didn’t cause, which is why we diagnose both the door and the opener before recommending anything. If you’ve got a door that opens unevenly or an opener that’s started to stutter, garage door opener repair covers the electronic side of that diagnosis.
Summer: Heat, Humidity, and Hardware
Summer brings a different set of stresses. Heat softens seals, expands metal tracks, and pushes the opener’s force settings harder than any other season. Humidity works on the hardware: hinges stiffen, springs rust, and weatherstripping that survived the winter starts to bake and split.
- Check the seal for softening. A heat-softened seal should return to shape when the door closes. One that stays flattened or distorted has lost its memory and will need replacing.
- Feel the tracks. Metal tracks expand with heat. A track that stays straight is fine; one that bows or pinches should be checked by a technician. Never force a bent track back into shape yourself.
- Lubricate again. Summer is the second lubrication point on the calendar. Hinges, roller bearings, and springs benefit from a fresh coat before the humid weeks.
- Inspect the springs for rust. Rust pits the steel and shortens the life of the spring. A rust-bloomed spring isn’t dangerous to look at, but it is a sign the spring is approaching the end of its working life. That’s an inspection item, not a repair you touch.
- Check the safety reverse. Put a small object in the door’s path and test that the door reverses on contact. This safety feature should be tested every season, and it’s one of the few things you should do yourself.
Summer is also when a lot of Stamford homeowners start thinking about a replacement instead of another repair. If your door is ten to fifteen years old and you’ve already replaced the seal and rollers once, it’s a fair question. For a new installation, see Stamford.
The Lubrication Guide: What Works Below Freezing
Lubrication is where generic checklists fail hardest. The product that works in a mild climate is often the one that turns to gum in a sub-freezing garage. Here’s what to use and what to leave on the shelf.
Use these:
- White lithium grease. A staple for garage door hinges and springs. It holds up in cold temperatures and stays put under pressure. Apply a light coat, not a heavy one; too much attracts dirt.
- Silicone spray. Ideal for the bottom seal, the weatherstripping, and any rubber components. Silicone keeps rubber from drying and cracking without breaking it down, and it stays fluid when the temperature drops.
- Silicone-based lubricant on the roller bearings. A drop or two per roller is enough. Silicone won’t thicken in the cold the way a heavier oil will.
Avoid these:
- Petroleum jelly and heavy axle grease. These thicken to the point of stiffness in cold weather, which drags on the rollers and forces the opener to work harder.
- WD-40 as a long-term lubricant. It’s a fine cleaner and water displacer, but it isn’t a lasting lubricant. It also attracts dust, which will make the tracks dirtier over time.
- Cooking spray or cooking oil. These leave a sticky film that traps grit and gums up in cold temperatures. They belong in the kitchen.
- Greasing the tracks themselves. Tracks should stay dry and clean. Grease on a track attracts dirt and grit, and it turns the roller bearings into a sliding surface they weren’t designed to be.
Two lubrication passes a year, one in the fall and one in the summer, cover the calendar. If you have a Craftsman or a Raynor system with hardware specific to that brand, the same general rules apply, and a technician familiar with the system will know which components need the most attention.
What to Log at Every Inspection
A checklist becomes genuinely useful the moment you start writing things down. A technician who can see a log of what you found in October and what you found in March can spot a spring approaching failure, a seal that’s been replaced three times, or a balance issue that’s been slowly worsening, instead of starting from scratch at every visit.
Here’s what to log at each inspection:
- Date and a note about the weather. A door that drags on a cold day is telling you something different than one that drags on a warm day.
- Bottom seal condition. One or two words: clean, dry, torn, soft, cracked.
- Roller condition and noise. Note any rhythmic sound, flat spot, or visible wear. Write down which side it’s on.
- Balance check result. Does the door hold at waist height, drop, or rise?
- Speed and smoothness of the opener. Any hesitation, straining, or change in sound.
- Weatherstripping condition. Cracks, gaps, or splits, and where.
- Anything that looks or feels different. Sometimes the thing you can’t name is the thing that matters.
You don’t need a formal logbook. A note on your phone works fine, and a photo of the seal each season is more useful than a paragraph of description. When you do call a technician, that log lets them arrive with a short list of suspects instead of a full diagnostic starting from zero.
Stop-and-Call: Where DIY Inspection Ends
There’s a hard line between a homeowner inspection and a repair, and it sits exactly at the high-tension components. Torsion springs, extension springs, and the cables that run alongside them are under enormous tension. A spring that’s under load can release violently if it’s touched, and a cable can snap. These are not items to adjust, lubricate beyond a light surface coat, or replace yourself. If you remember one thing from this checklist, make it this one: springs and cables are inspect-and-report only.
These are the stop-and-call indicators:
- A visible gap in a spring. A torsion spring that’s cracked or broken has usually finished failing. Don’t test the door. Call a technician.
- A cable that looks frayed, kinked, or slack. Fraying means the cable is compromised, and a compromised cable is dangerous under load.
- A door that drops or rises on its own when tested at waist height. This means the spring tension is off, and the springs are not a homeowner adjustment.
- Grinding or thumping from the spring area. A spring that’s making new sounds needs to be looked at, not listened to.
- A bent track with a door that won’t close evenly. The door is out of alignment, and forcing it into the track can make things worse.
- A door that’s come off a track, or a roller that’s popped out. This is a safety issue. Stop using the door until someone qualified takes a look.
Surface lubrication on the springs is fine and reduces rust. Anything beyond that is a professional’s job, full stop. Our technicians have up to 8 years of experience and work exclusively on garage doors, not on a rotating list of home services, which means the person who shows up has seen the failure you’re describing many times before.
Common Mistakes to Avoid
- Greasing the tracks. It feels like the right move, but grease on the tracks turns them into grit traps and makes the rollers slide instead of rolling. The tracks should stay clean and dry.
- Using cooking spray or cooking oil as a lubricant. These leave a sticky film that gums up in cold weather and attract dirt. Use white lithium grease or silicone instead.
- Forcing the door open when it’s frozen to the ground. This is exactly how a bottom seal tears off. Clear the ice first, and let the seal dry before running the door.
- Adjusting spring tension to fix a door that drops. This is the most dangerous thing a homeowner can attempt. Springs under tension can release violently. Leave them to a technician.
- Skipping the fall prep because the door “seems fine.” The fall prep is what prevents the March tear. A door that seems fine in October is the one that fails in February.
- Ignoring the safety reverse test. It’s the one thing most worth doing yourself, and most homeowners haven’t checked it in years. A door that doesn’t reverse on contact is a genuine hazard.
- Replacing a door or opener without diagnosing the actual failure first. A stuttering opener doesn’t always need replacing, and a dragging door isn’t always a track problem. Diagnose before you buy.
When to Call a Professional
Call a professional the moment anything on the door falls into these categories: a broken or gapped spring, a frayed or slack cable, a door that drops or rises on its own, a door that’s come off its track, a bent track, or an opener that reverses or strains without an obvious cause. Those are the failures that a trained technician handles with the right tools and the right safety habits. Everything else on this checklist, from the seal to the weatherstripping to the lubrication, is homeowner-safe and worth doing yourself.
If you’re unsure which side of the line a problem sits on, that’s a fine reason to call. A technician can tell you what’s happening and what it’ll take to fix it, without pushing you toward a replacement you don’t need. Because we work on LiftMaster, Chamberlain, Genie, Clopay, Amarr, Wayne Dalton, Craftsman, and Raynor systems, the person on the phone already knows your brand. Call (855) 632-3568 for a free estimate. We answer 24/7, with fast dispatch from 7am to 7pm, Sunday through Friday.
Frequently Asked Questions
A Stamford checklist should include the bottom seal, the roller wheels, the exterior weatherstripping, spring and cable inspection (report only, not repair), balance testing, lubrication, and a written log of what you find each time. The sequence should follow the local weather calendar rather than a flat quarterly schedule, since the freeze-thaw cycle in this part of Connecticut is what drives the biggest failures.
Twice a year is the right rhythm here: once in the fall before the hard freezes and once in the summer when humidity peaks. Use white lithium grease on the hinges and springs and silicone spray on the seal and weatherstripping. Avoid heavy oils and petroleum jelly, which thicken in sub-freezing temperatures and drag on the rollers.
It tears because it bonds to the concrete when moisture beneath it freezes. The next time the opener lifts the door, the seal tears away from the door or gets distorted. The fix is prevention: keep the area under the door clear of standing water, dry the seal before it has a chance to bond, and treat it with a silicone protectant in the fall so the rubber stays flexible.
No. Torsion and extension springs are under enormous tension, and a spring that’s under load can release violently if it’s touched. Springs and cables are inspect-and-report only. If you see a gap in a spring, a frayed cable, or a door that drops on its own, stop using the door and call a technician.
Probably not. Many openers, including most modern LiftMaster and Chamberlain models, have force limits that trip when the door is harder to move than expected. In cold weather, stiff grease or a spring losing tension can make the door harder to move, and the opener reverses to protect itself. The underlying cause is usually spring tension or balance, which is a technician’s call.
It depends on what’s failing. If you’re replacing the seal and rollers once a season, or if the springs have been adjusted repeatedly, a replacement may make more sense. If it’s one isolated failure, repair is almost always the more reasonable path. Get a diagnosis before you commit to either. Call (855) 632-3568 for a free estimate – an estimate costs nothing and tells you which path makes sense.
The Bottom Line
A garage door maintenance checklist is only useful if it matches where the door actually lives. In Stamford, that means putting the real work in the fall, watching for seal and roller problems through the winter, catching track and opener issues in the spring thaw, and handling lubrication and hardware in the summer. Springs and cables are inspect-only. Everything else is yours to do, and the log you keep is what turns a checklist into a trend. If you’d like a specialist to walk your door and map its failure points, we work on the brand you already have, from a torn seal to a full new installation. Call (855) 632-3568 for a free estimate. We answer 24/7, with fast dispatch from 7am to 7pm, Sunday through Friday.
Written by the team at Clover Garage Door Service.
See the difference
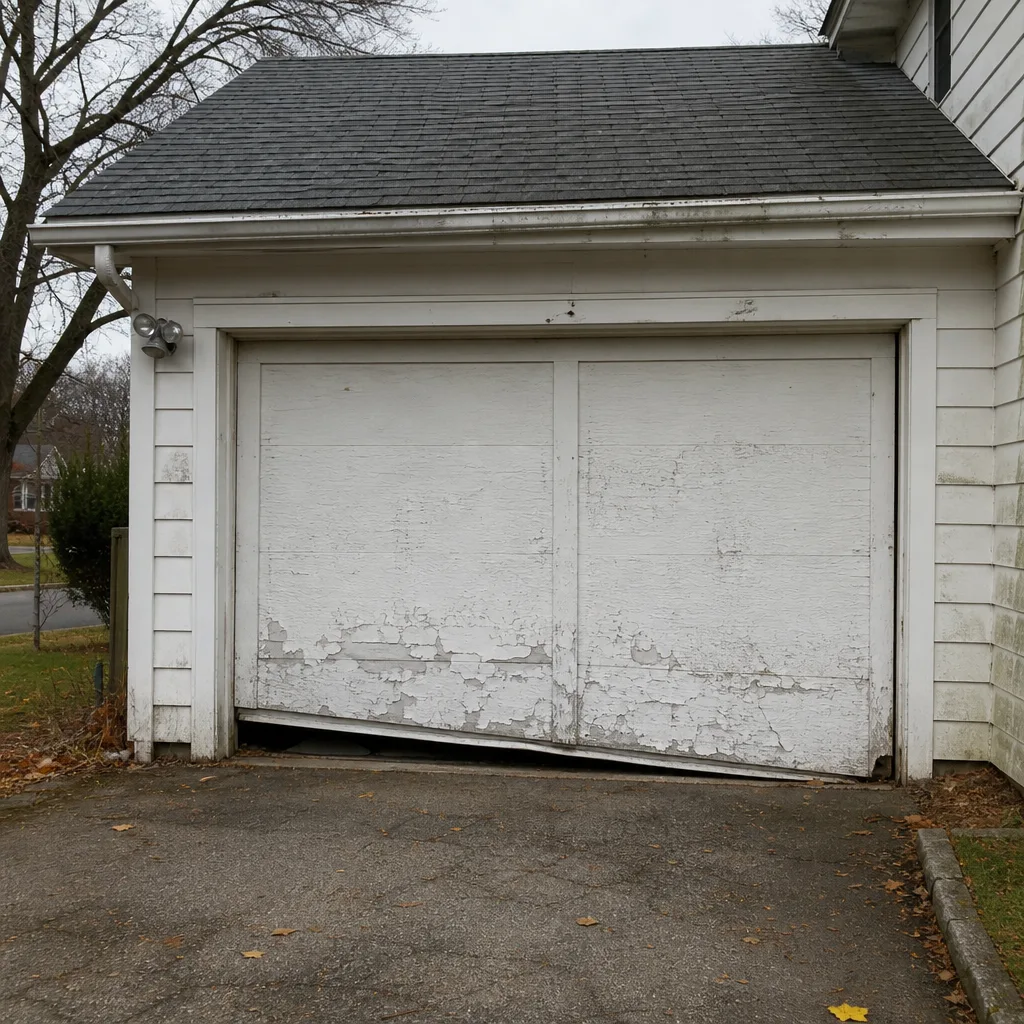 Before
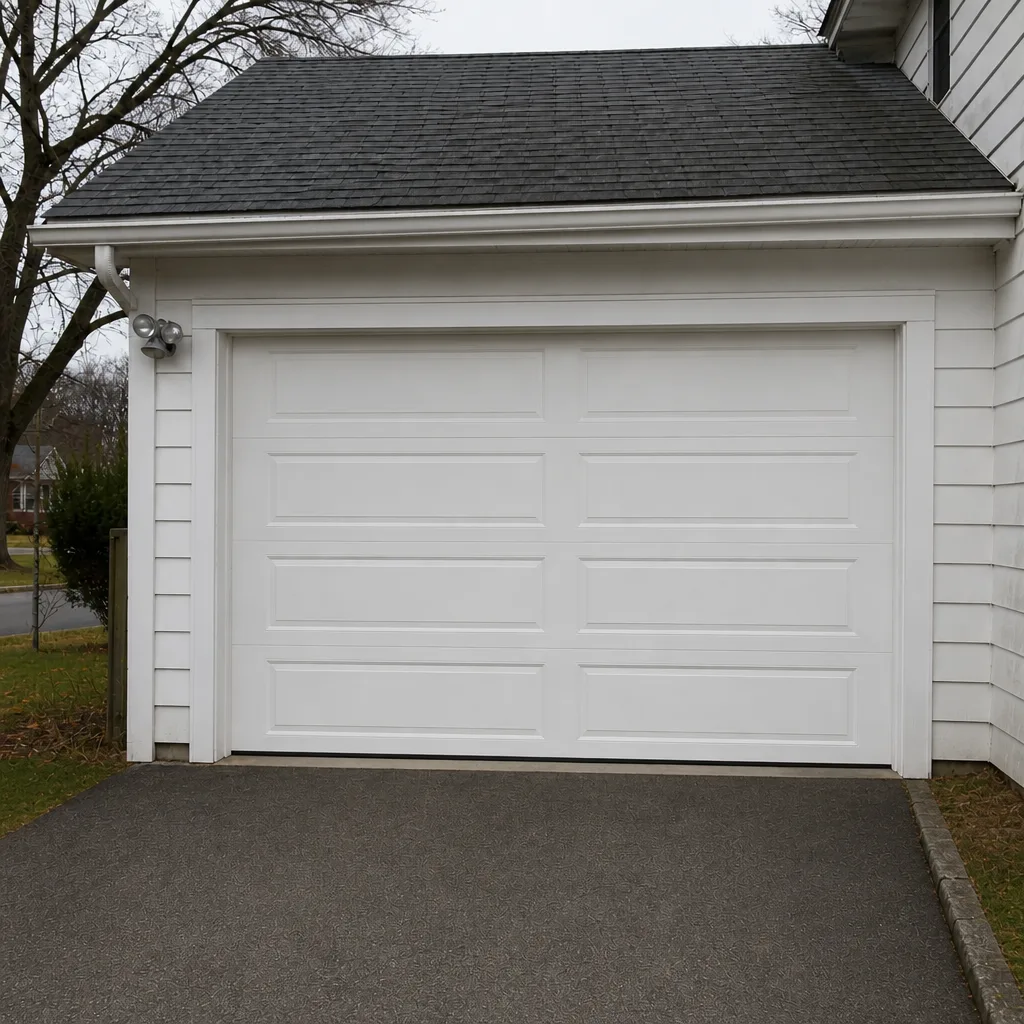 After
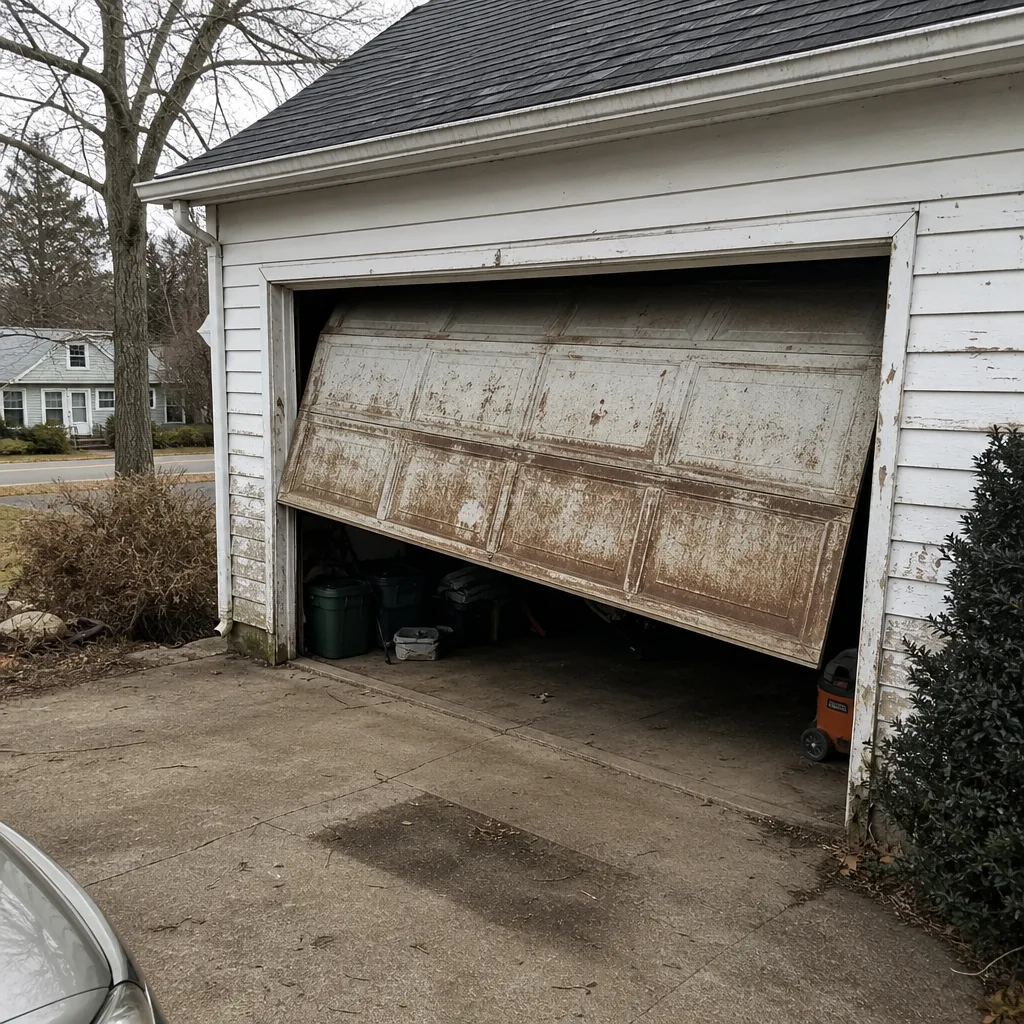 Before
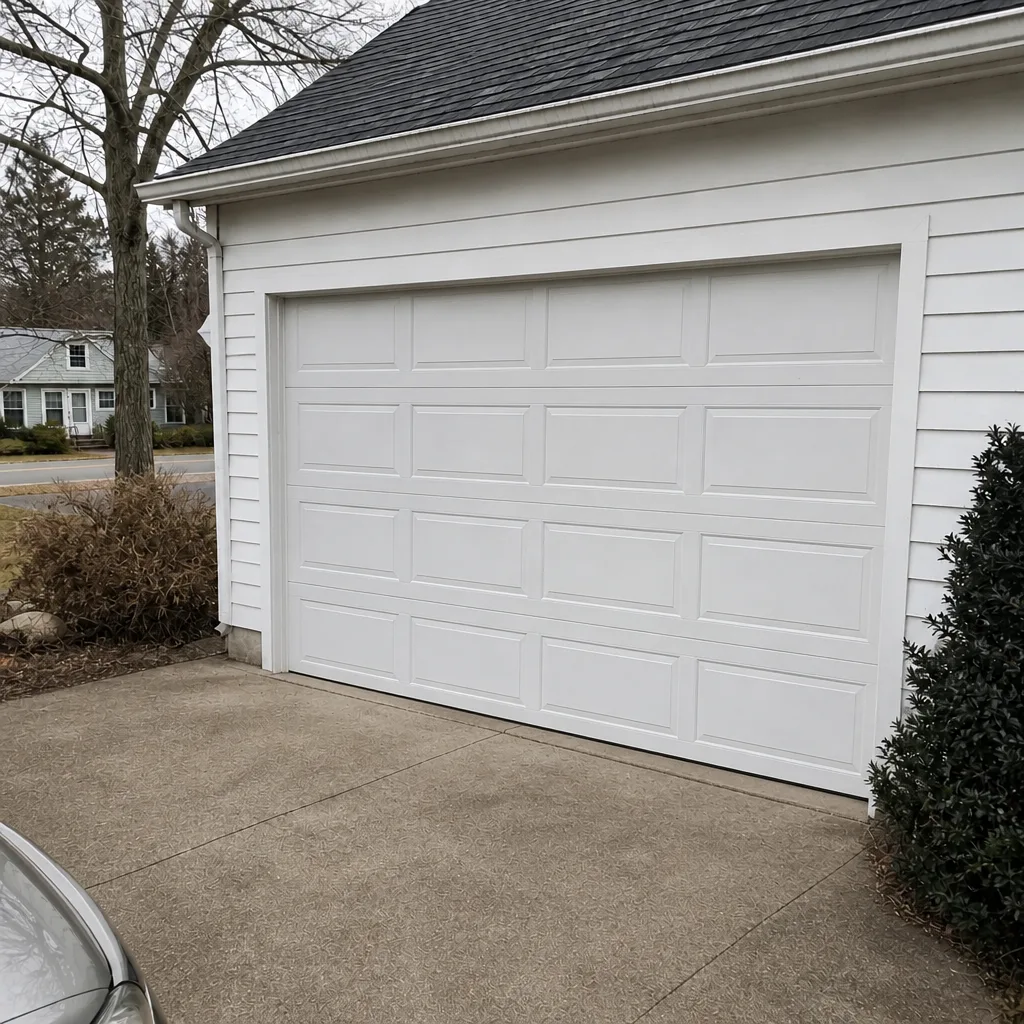 After
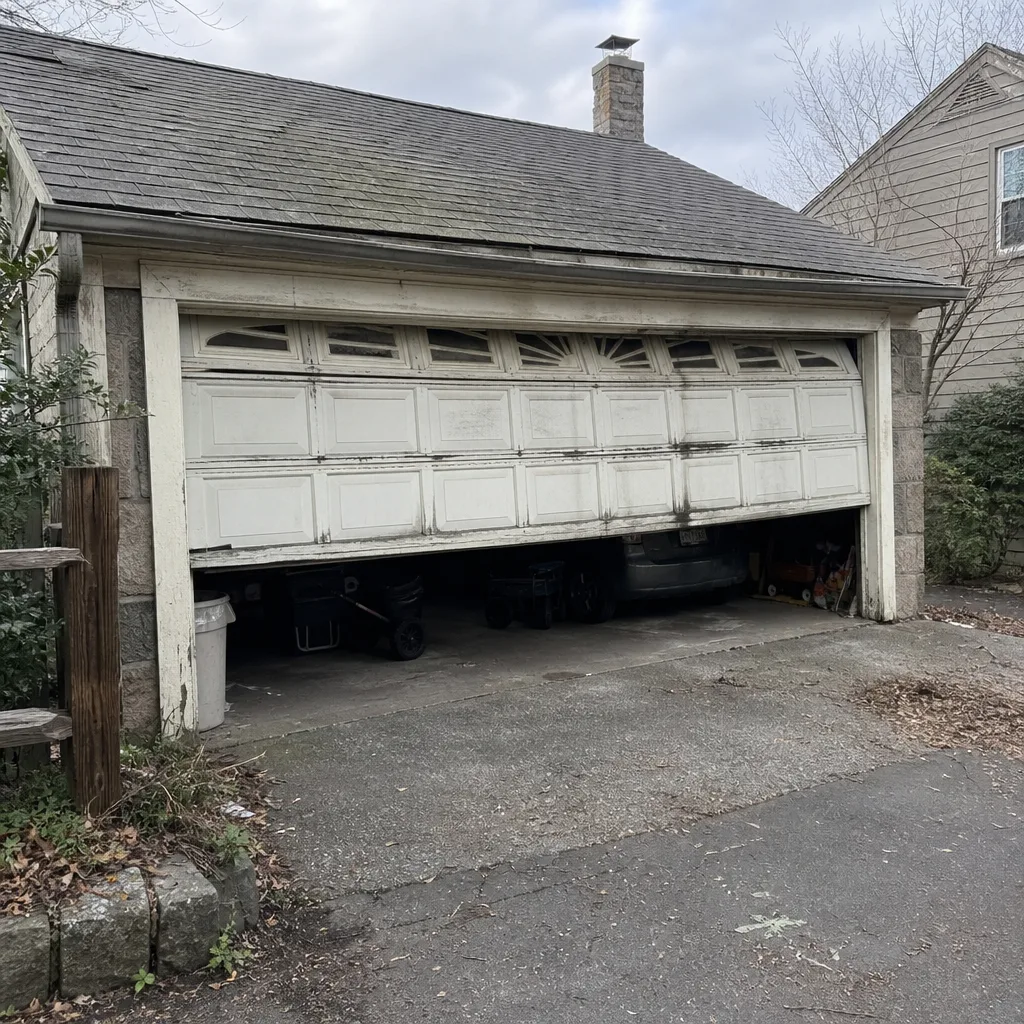 Before
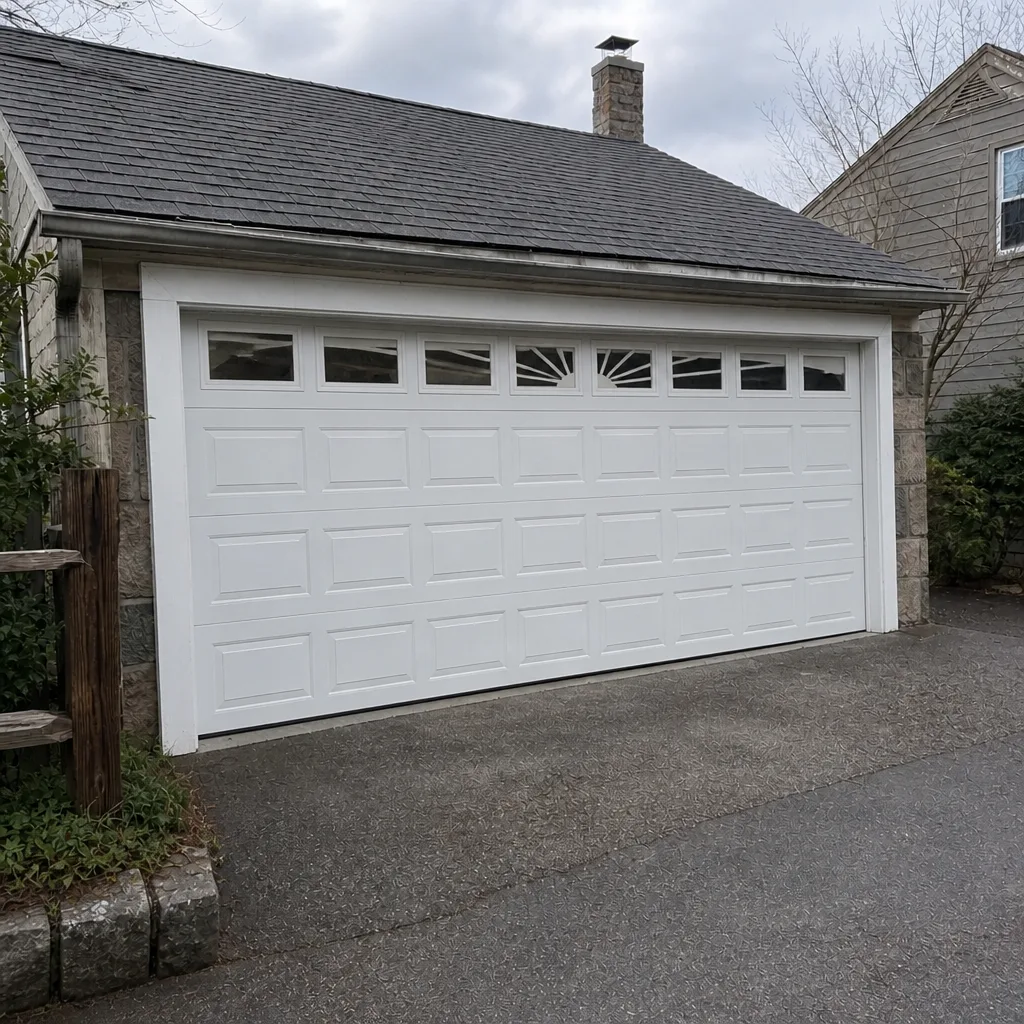 After